Showing posts with label felt. Show all posts

Wednesday, January 4, 2012

Felt Rose Tutorial

I promised to post a tutorial showing you how I make my felt roses.  I know there are a lot of tutorials for making felt flowers out there-- but I wanted to make my mine because it's so easy!  No downloadable templates, no tracing on felt... 

You will need:
1 sheet of felt for your flower
1 sheet of felt (or scraps) for your leaves
Hot glue gun
Scissors

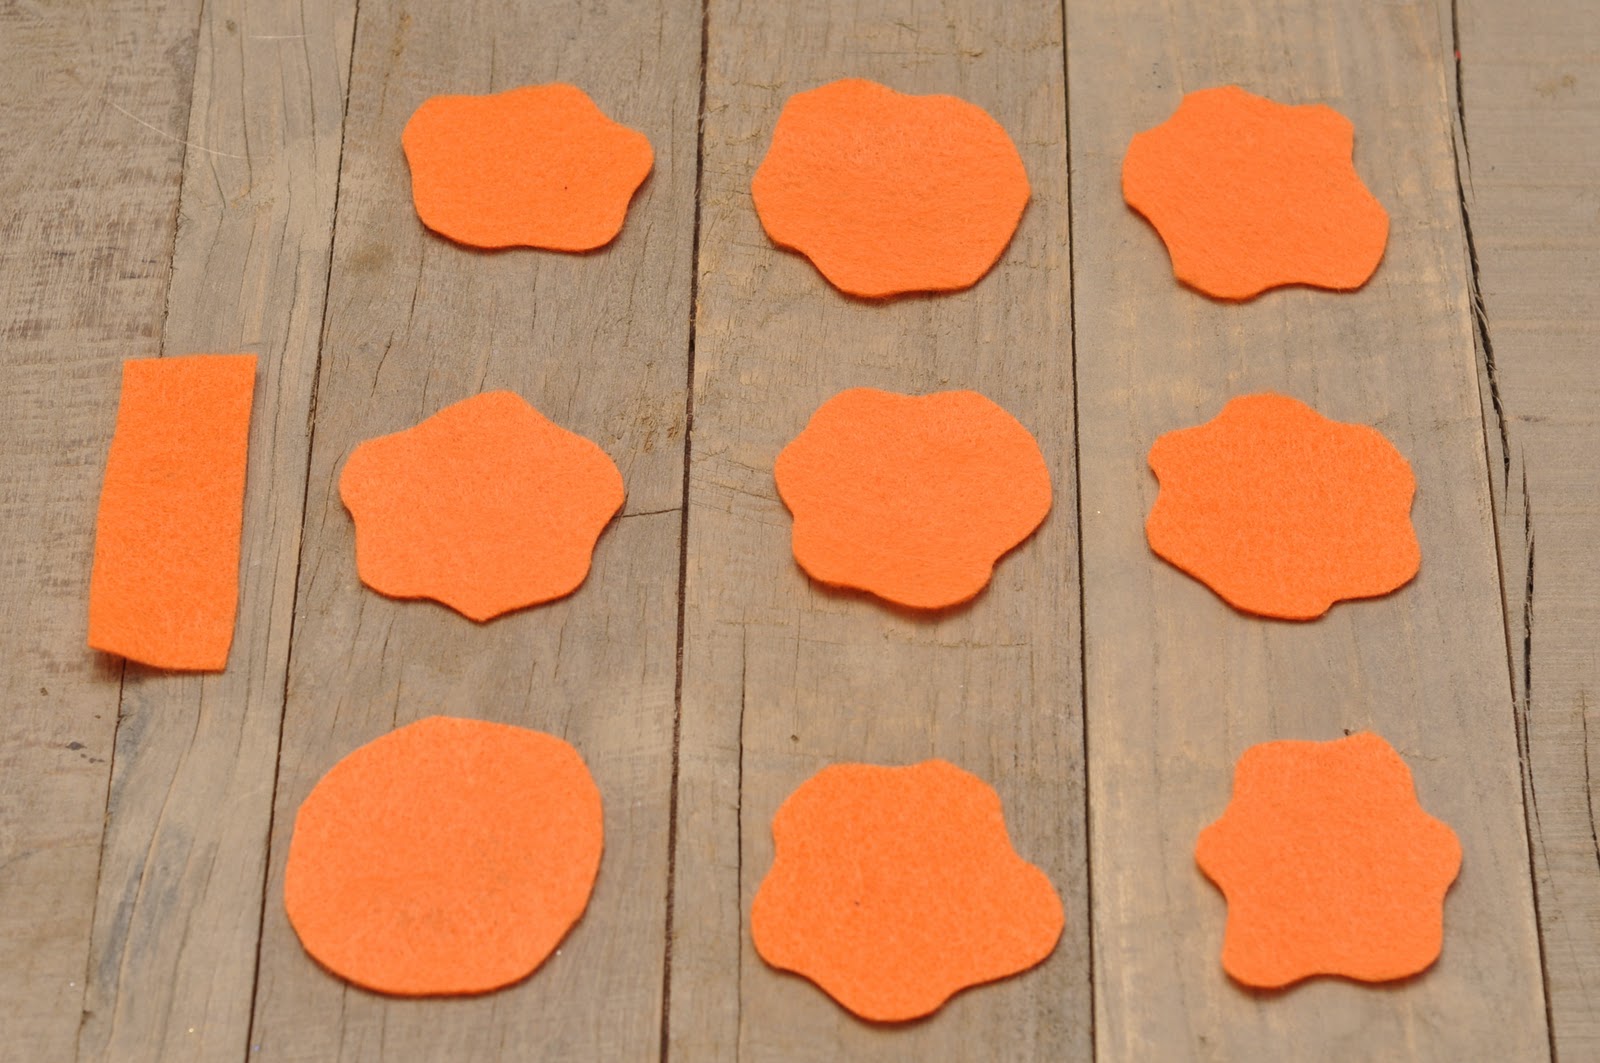
First, take your felt and fold it in half (hamburger style).  Fold it in half again.  Cut down the folds so you have 4 long strips and then make 3 cuts, yielding 3 sets of squares and a skinny rectangle.  
 From your squares, cut 9 circles.
Cut around the edges of 8 of your circles to make a scalloped edge.  Trim the edge of the 9th circle to make it a bit smaller-- this will be the base of your flower.  Grab your skinny rectangle too.
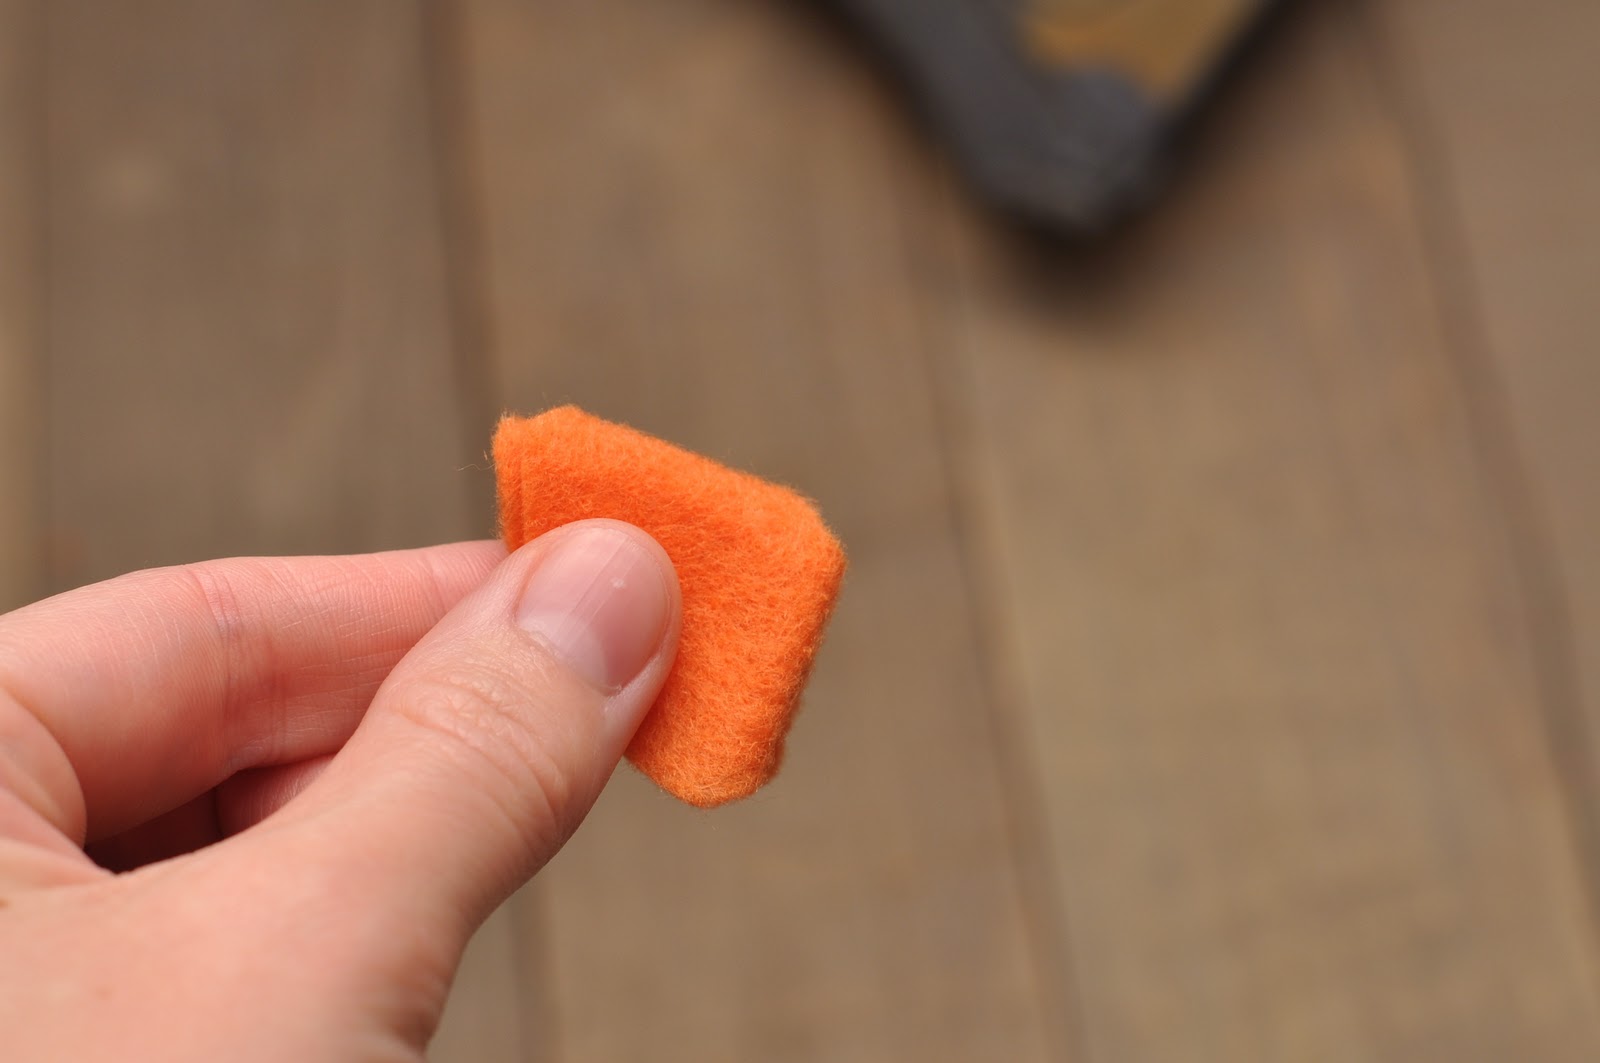
 Fold your scalloped circles in half, and then half once more.  Snip a tiny bit off of the tips.
 Using hot glue, glue 4 folded, scalloped circles to the base of your flower.
Glue 2 more folded, scalloped circles to your flower-- opposite of each other along the seams of the base petals.
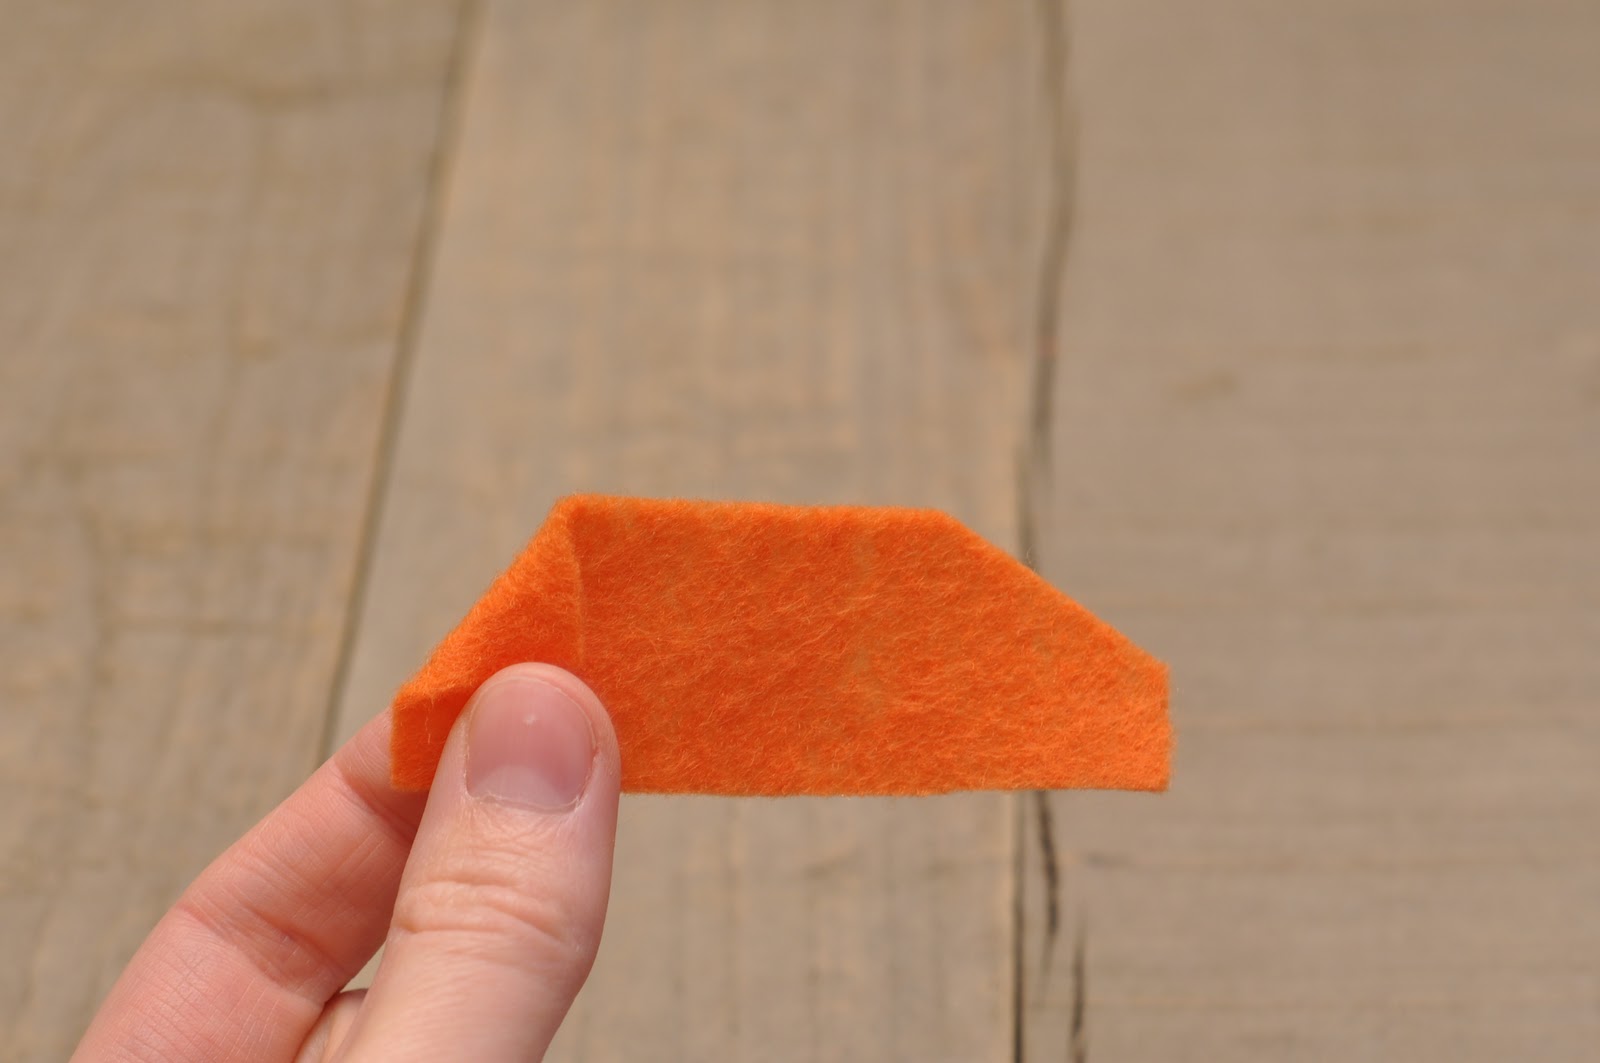
Take your rectangle and snip off one top corner.  Fold down the other top corner 
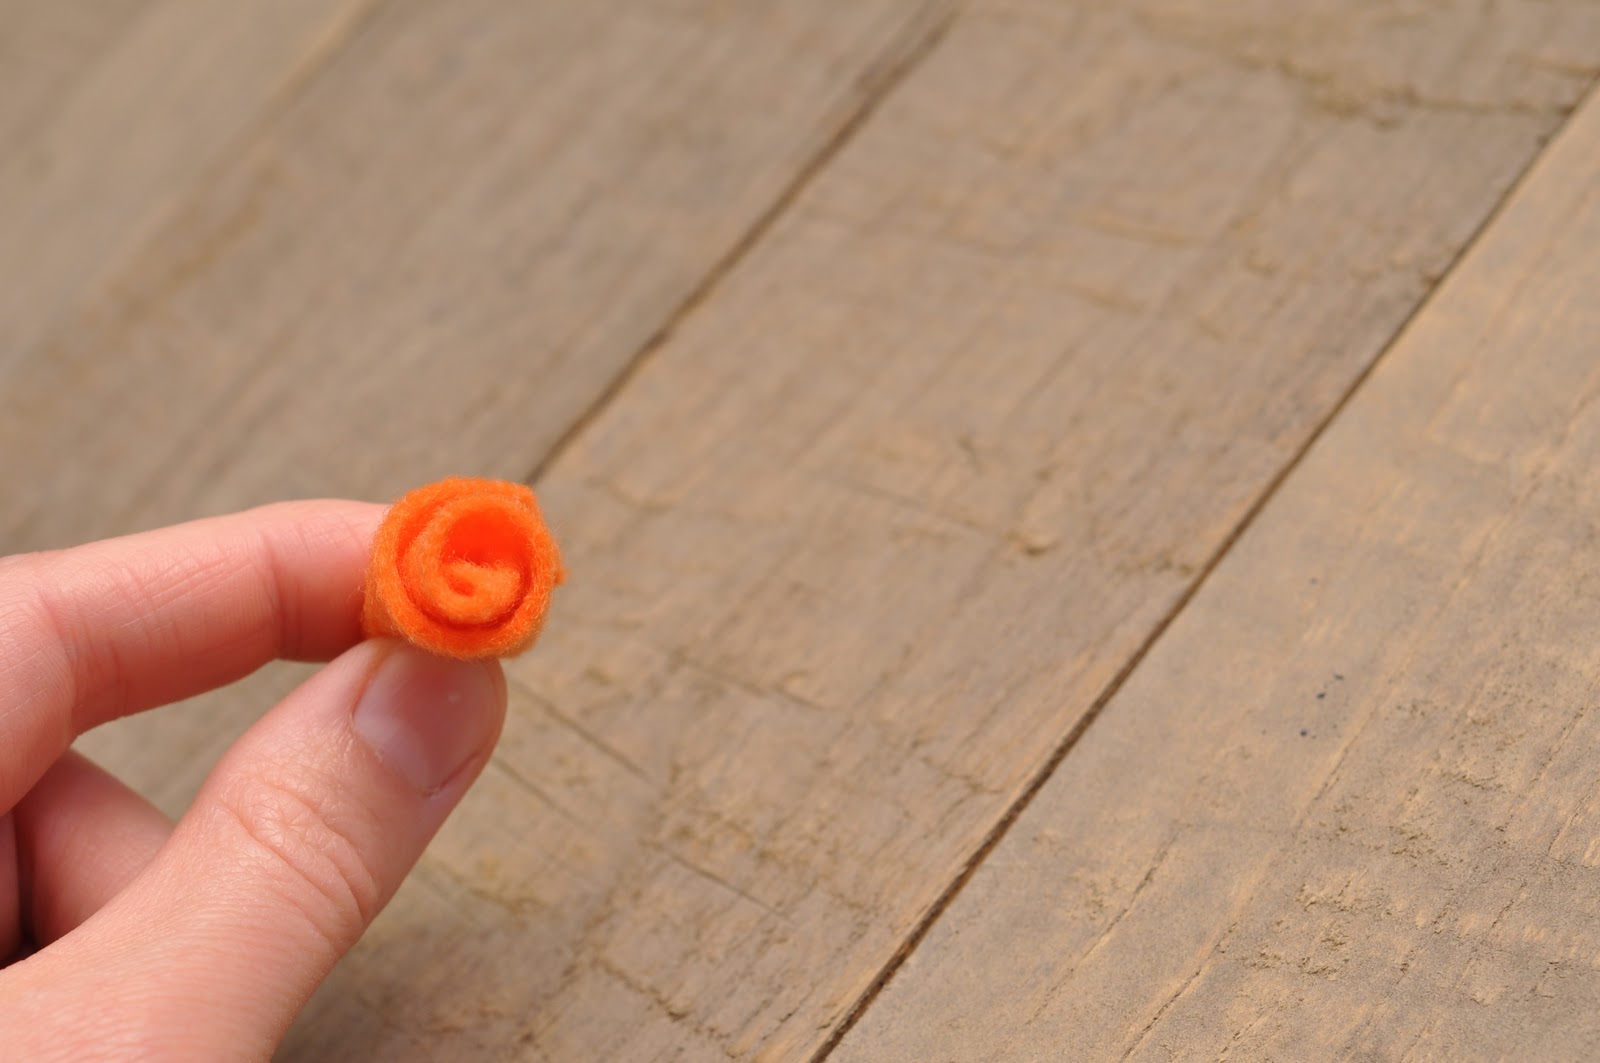
  Roll it up-- rolling the folded side first and the cut corner will be on the outside.
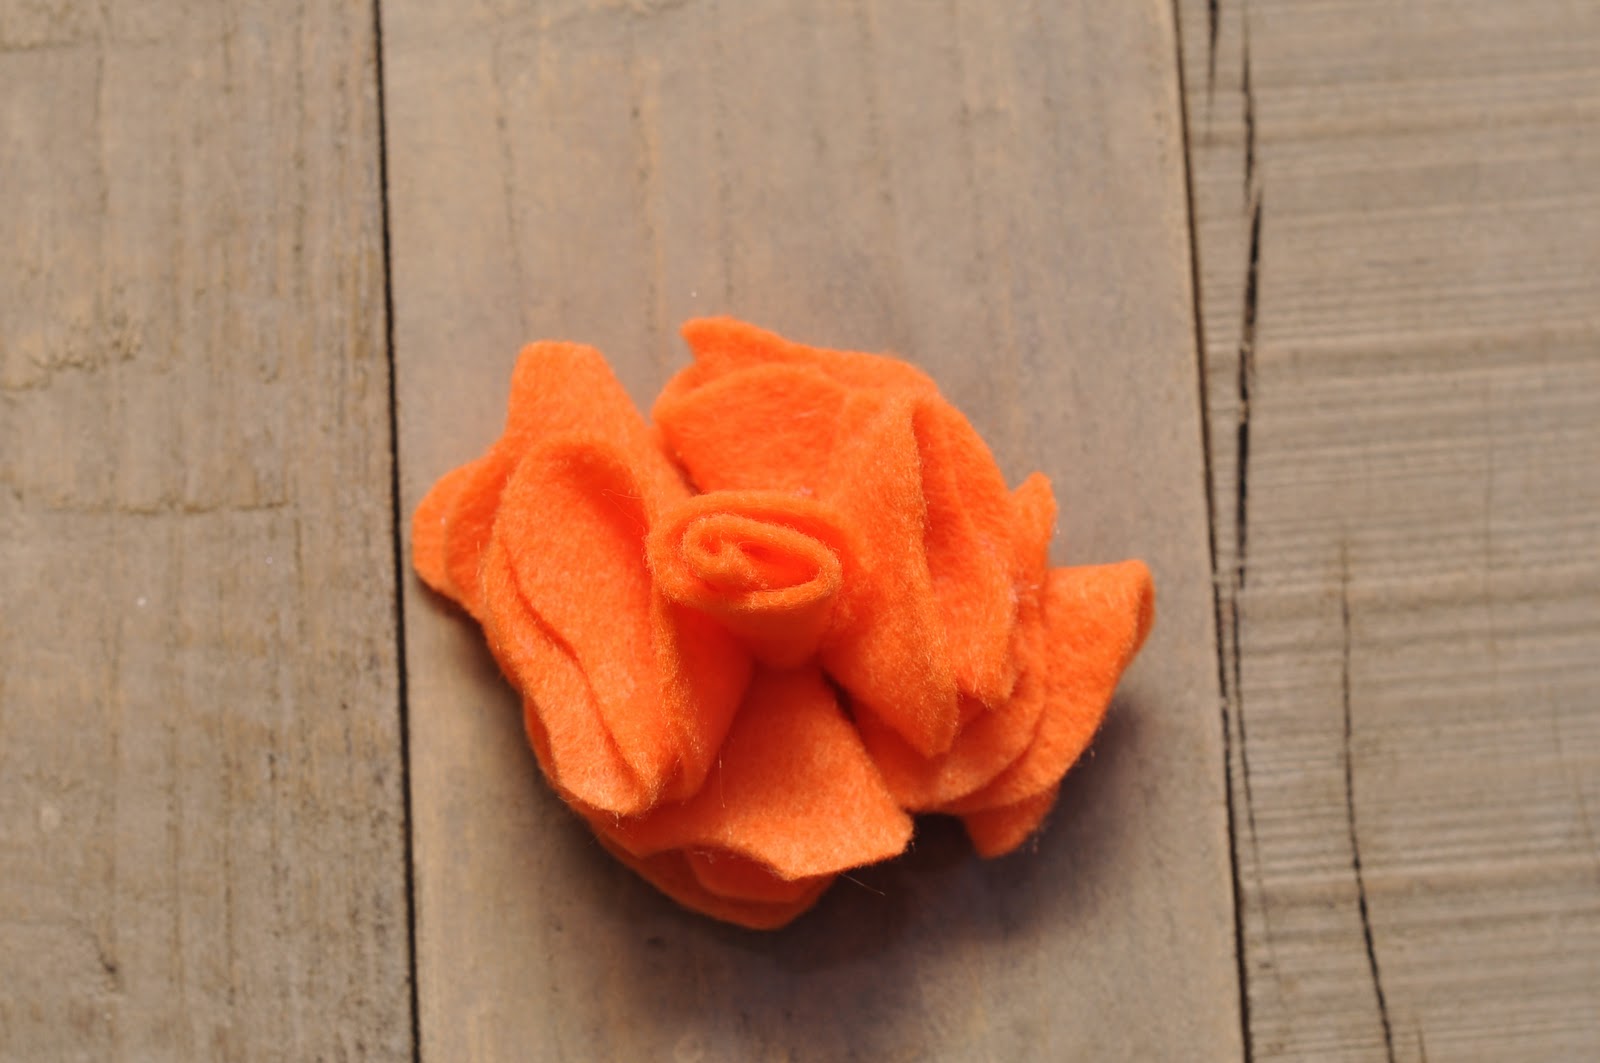
 Glue the base of the roll up to the center of the flower.
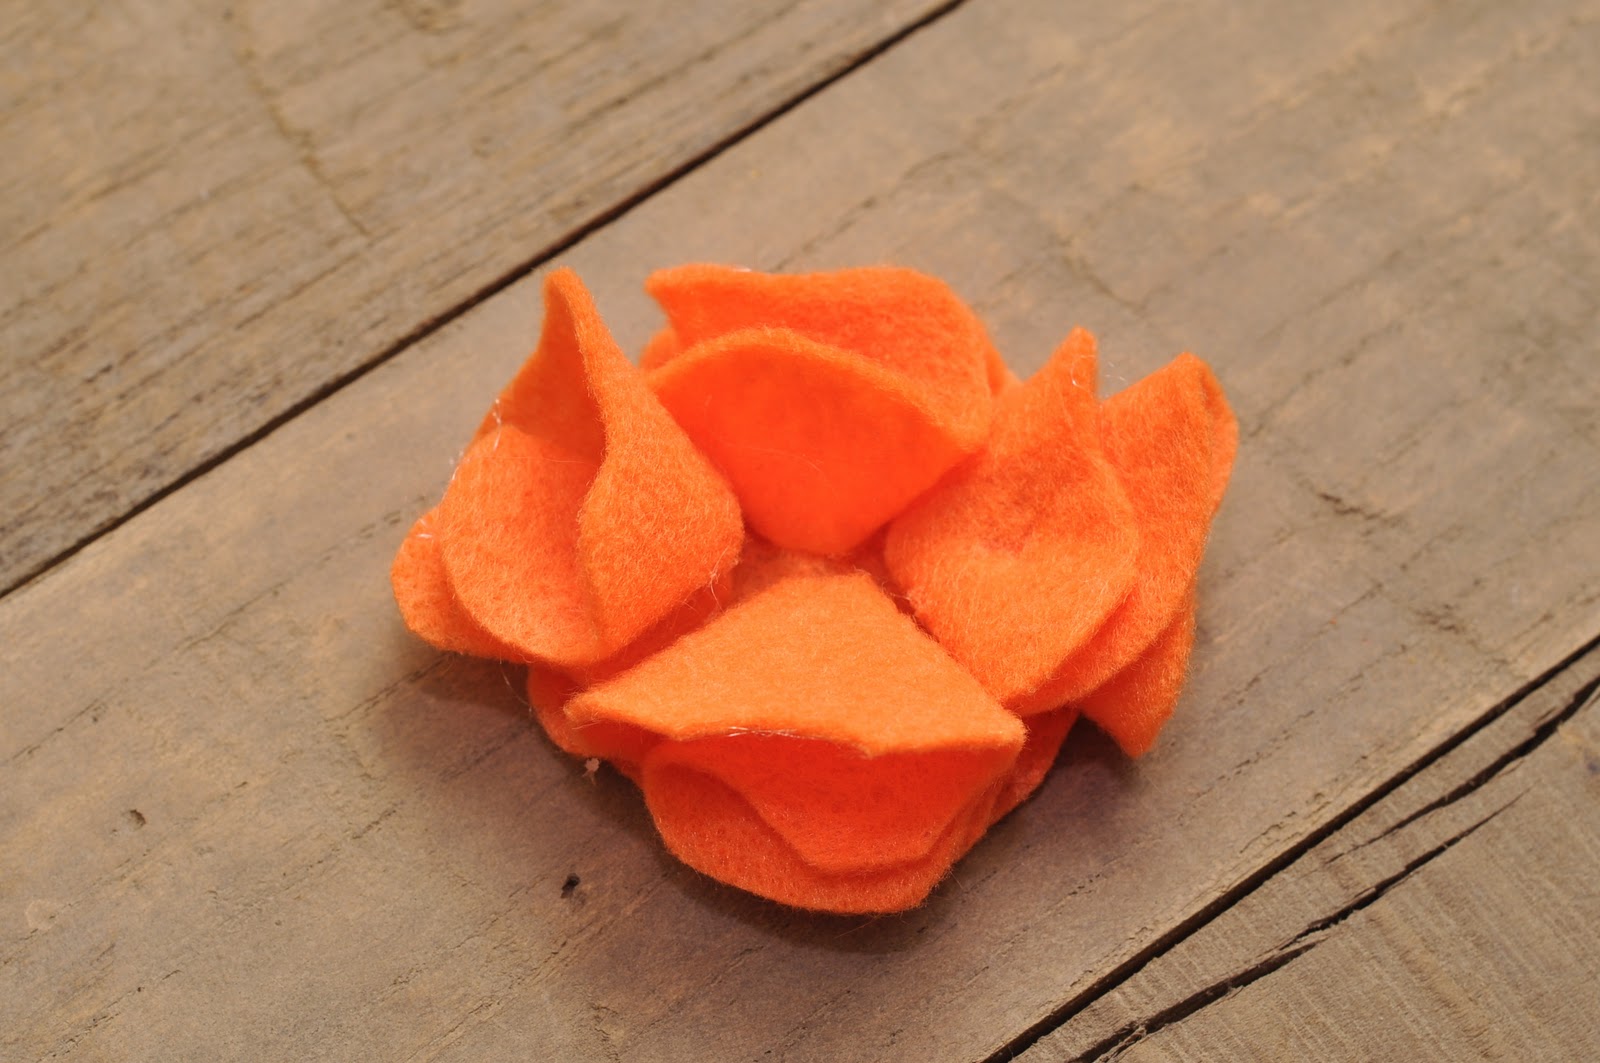
 Glue the last 2 petals down in the space remaining.
If you feel your flower needs a little perking up in places, you can use tiny scraps of your felt to add some extra oomph!
Hope you enjoy making your felt roses!  Click here for more felt flower tutorials.  

Monday, December 19, 2011

Felt Flowers

Merry Christmas!!!  

I made some lovely felt flowers and wanted to share some links with you.  Felt flowers are so easy to make and look great as on headbands, pins, barrettes... anything really!  If you have some felt laying around-- you could make a fantastic last minute gift topper!  

I tried to follow this flower pin tutorial but I couldn't get the right shape for the stencil!  The next two flowers below are from my own pattern, which I will post a tutorial for next week.  
For this flower, I cut out several petals and sewed the ends together.  I gathered them tightly and stitched a pearl in the middle.  The great thing about sewing your flowers together rather than using hot glue is that you can push the petals around a bit and have more control over your final shape.
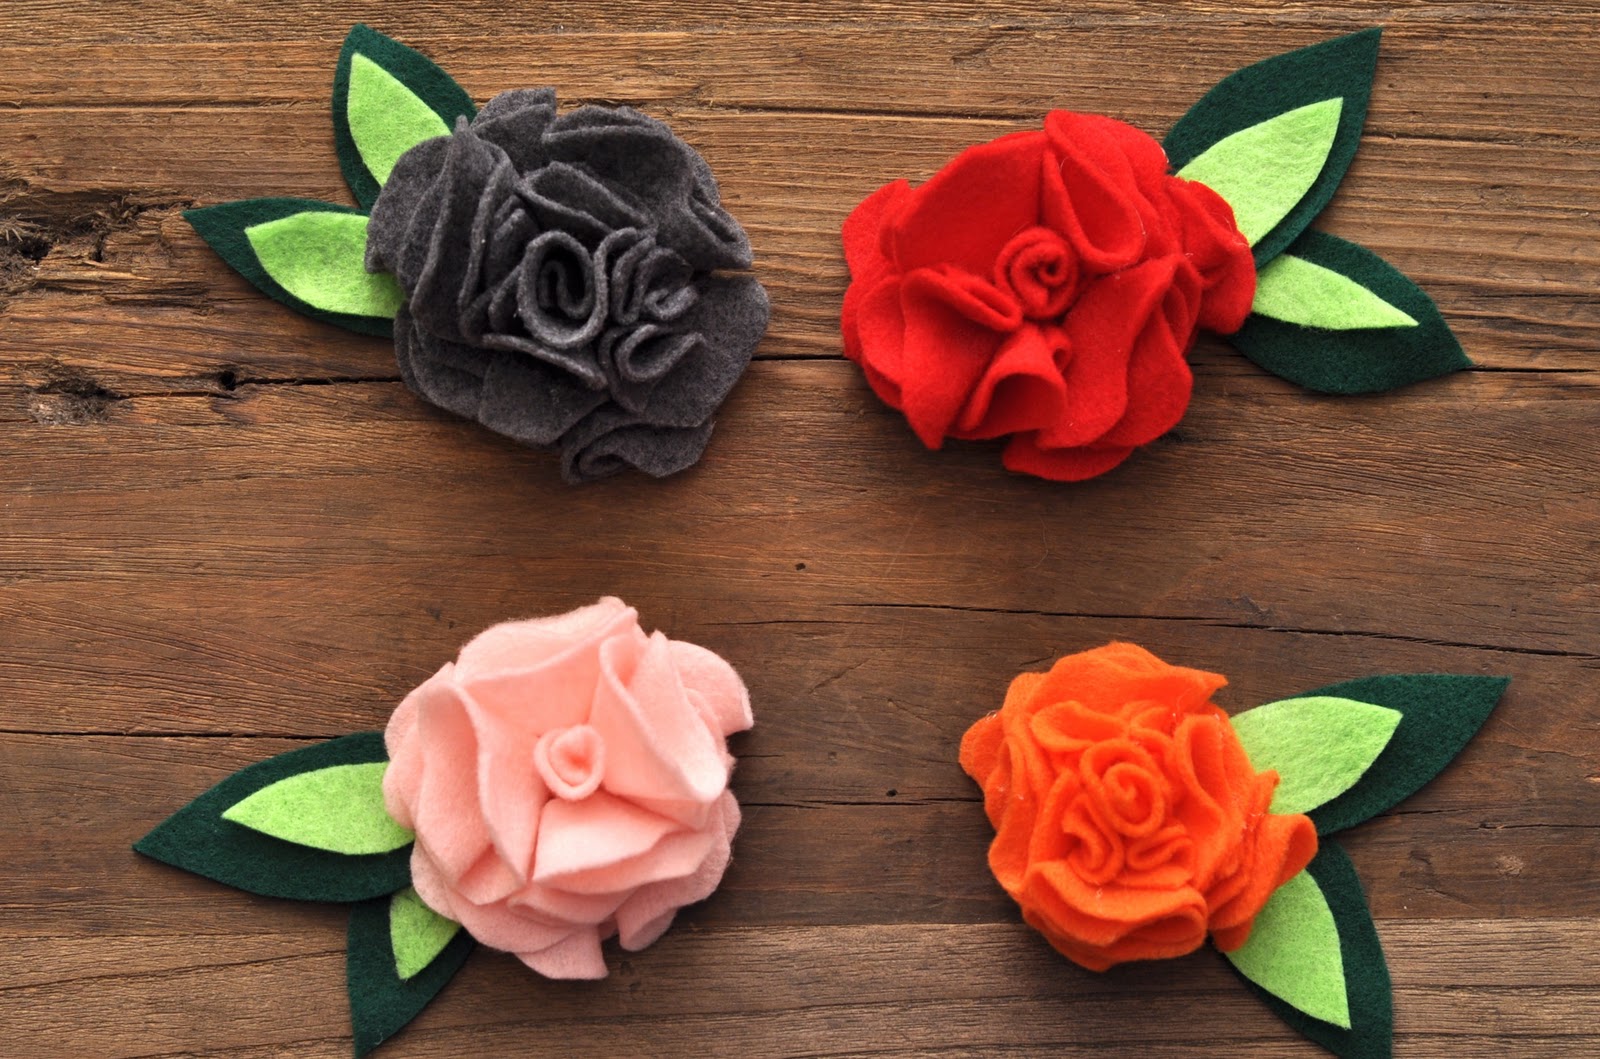
These roses are so simple to make!  Follow this rose tutorial to make yourself a rose or two!
Wishing everyone a happy holiday!  

Wednesday, November 9, 2011

Felting Acorns and a Very Lovable Life Sized Felted Squirrel


I can't think of a better fall craft than the felted acorn!  I really enjoyed making them and I think you will too!  

If you are interested in making a few, check out this tutorial-- or if you're more of a visual learner, click here to watch a video tutorial.  

If you're too busy or you just can't add another new craft to your life-- you can buy some handmade acorns on Etsy.  I especially LOVE these felted acorn earrings by Dianthusa.  Check out her Etsy shop!  Her felt jewelry is just gorgeous and it's handmade in Paris!


Here is a great collection of acorn craft inspirations and some lovely tutorials as well!  
With all of your new felted acorns and other acorn crafts, it might be nice to have a felted squirrel around!  This amazing life size needle felted squirrel was made by a woman named Barbara and is for sale in her Etsy shop, feltedheirlooms.  Barbara has a lot of really cute felted animals in her shop-- the dogs are my favorite!


Thanks for reading my blog today.  I would love to see your fall crafts!  Send me some pictures of what you're working on!  You can post pictures of your work on Mister G's Facebook fan page or Tweet me @MisterGandMe.

xoxo,
Ashley


Photo Credits:  1 Mister G and Me,   2 and 3  Dianthusa,  4 and 5 Barbara Crowther

Monday, October 31, 2011

Knitting Needle Organizer Tutorial

The other night I started a knitting project and it took me FOREVER to find matching needles.  (I really wish I took a before picture of my knitting basket!)  Well, something had to be done...  

If you feel inspired to organize your knitting needles, you will need:
1 Long piece of felt
1 Long piece of fabric 
Sewing machine or needle and thread
Scissors
Hair tie
Fun button

Step 1: Take your felt and cut it to the size you like.  I had the perfect long piece that I had felted from a winter scarf.  You can felt a wool winter scarf yourself by washing it in the washing machine with the smallest amount of HOT water and the most aggressive wash setting.  You may need to run the scarf through a few wash cycles until the stitches begin to disappear and you will have some fuzzy felt.  I stretched my wet felt out and laid it on the radiator to dry.  Any flat surface will do-- but lay a towel down first to protect your home!  
Step 2: Decide where you would like your needles to be placed.  Then snip two holes for each pair of needles.  My felt was stripped so it was easy to line up my holes.  Snip a smaller hole for smaller needles or crochet hooks and larger holes for larger needles.  
 
Step 3: Measure your piece of fabric and pin the hem to match the size of your felt.  Hem all 4 sides of your fabric.  
Step 4: Squeeze the middle of a hair tie together.  Pin it in-between the felt and fabric in the center of one of the short ends.  (This will latch to a button for closure.)  Sew the felt and fabric together-- wrong sides touching and good sides facing out.   

Step 5: Sew boundaries for your needles.  Leave more space for bigger needles.  
Step 6: Insert your needles into your organizer.  Roll it up and mark where the end of the hair tie touches.  Sew your button here and close her up!
 Looking good!  Post pictures or your fancy needle organizer in the comment section!  
Monday, October 3, 2011

Fantastic Baby Gifts: Handmade with Love: Part One

I was waiting to give my sister Megan her baby gifts-- but I just can't wait any longer!  Today she is 40 weeks, 6 days pregnant.  I gave her my gifts for baby Ivy yesterday and she squealed with delight.  I will post all of them over the course of this week. 
Keep checking back for great ideas for baby gifts!


To make this Embroidered Love Onesie you will need:
Onesie
Felt
Embroidery floss (2 colors)

Soft interfacing


Cut 4 hearts from your felt. I used homemade felt- but any felt will do!

Arrange them how you like. If you have a larger onesie your hearts may fit across the chest. I used a 0-3 months onesie so I needed to arrange the hearts as a diagonal sash across the body.

Using 3 strands of the first color floss, stitch each heart to the onesie. A running stitch looks great along the border of the heart.

Embroider the word "love" with 3 strands of the second color floss, placing one letter on each heart.


Cut a piece of the interfacing to cover the back of your work. This protects the baby's soft skin from the knots and ends of the thread.

Follow the directions for your interfacing and iron it to the back of your onesie.


Turn it right side out and marvel at your work!


Sadly, Mister G was not able to help with this project because he is chasing skinks and lizards in Florida.  I know he would have liked this because he is ALL love!

Friday, September 16, 2011

Packing Up My Sewing Machine


Packing for a weekend trip is a big challenge for me. Packing a suitcase with everything I need for a month- and putting everything else into a box is indescribably hard!

As some of you may know, my husband recently started a new business in Florida with his friend and we are relocating there. My sister is 38 weeks pregnant- so I need to have my move in order before her little one makes her grand entrance into the world!

The movers are coming on Wednesday to put our things in storage. The following week is my sister's due date and the next week my husband and pup travel down to Florida. I will stay with my sister and niece for 2 weeks and then fly down to my new home- reuniting with my hubs and Mister G!

Not surprisingly, my craft supplies have been the hardest things to box up. I am sad to put away my sewing machine today. After my sewing things are all packed up, that will leave only 1 knitting project, my felt, embroidery supplies, and jewelry supplies.

I plan to make some jewelry over the next week-mainly because I keep all of my tools and jewels in a vintage tackle box that can be moved on its own without a box.

What kinds of crafts do you make with few small things? I'm excited to see what I can come up with with just a small basket of supplies!!

I also just got the book "The Knitting Sutra" from the library and the first few pages have been fantastic!!! I'm certain I will finish it before part one of the move begins next week!


Tuesday, September 13, 2011

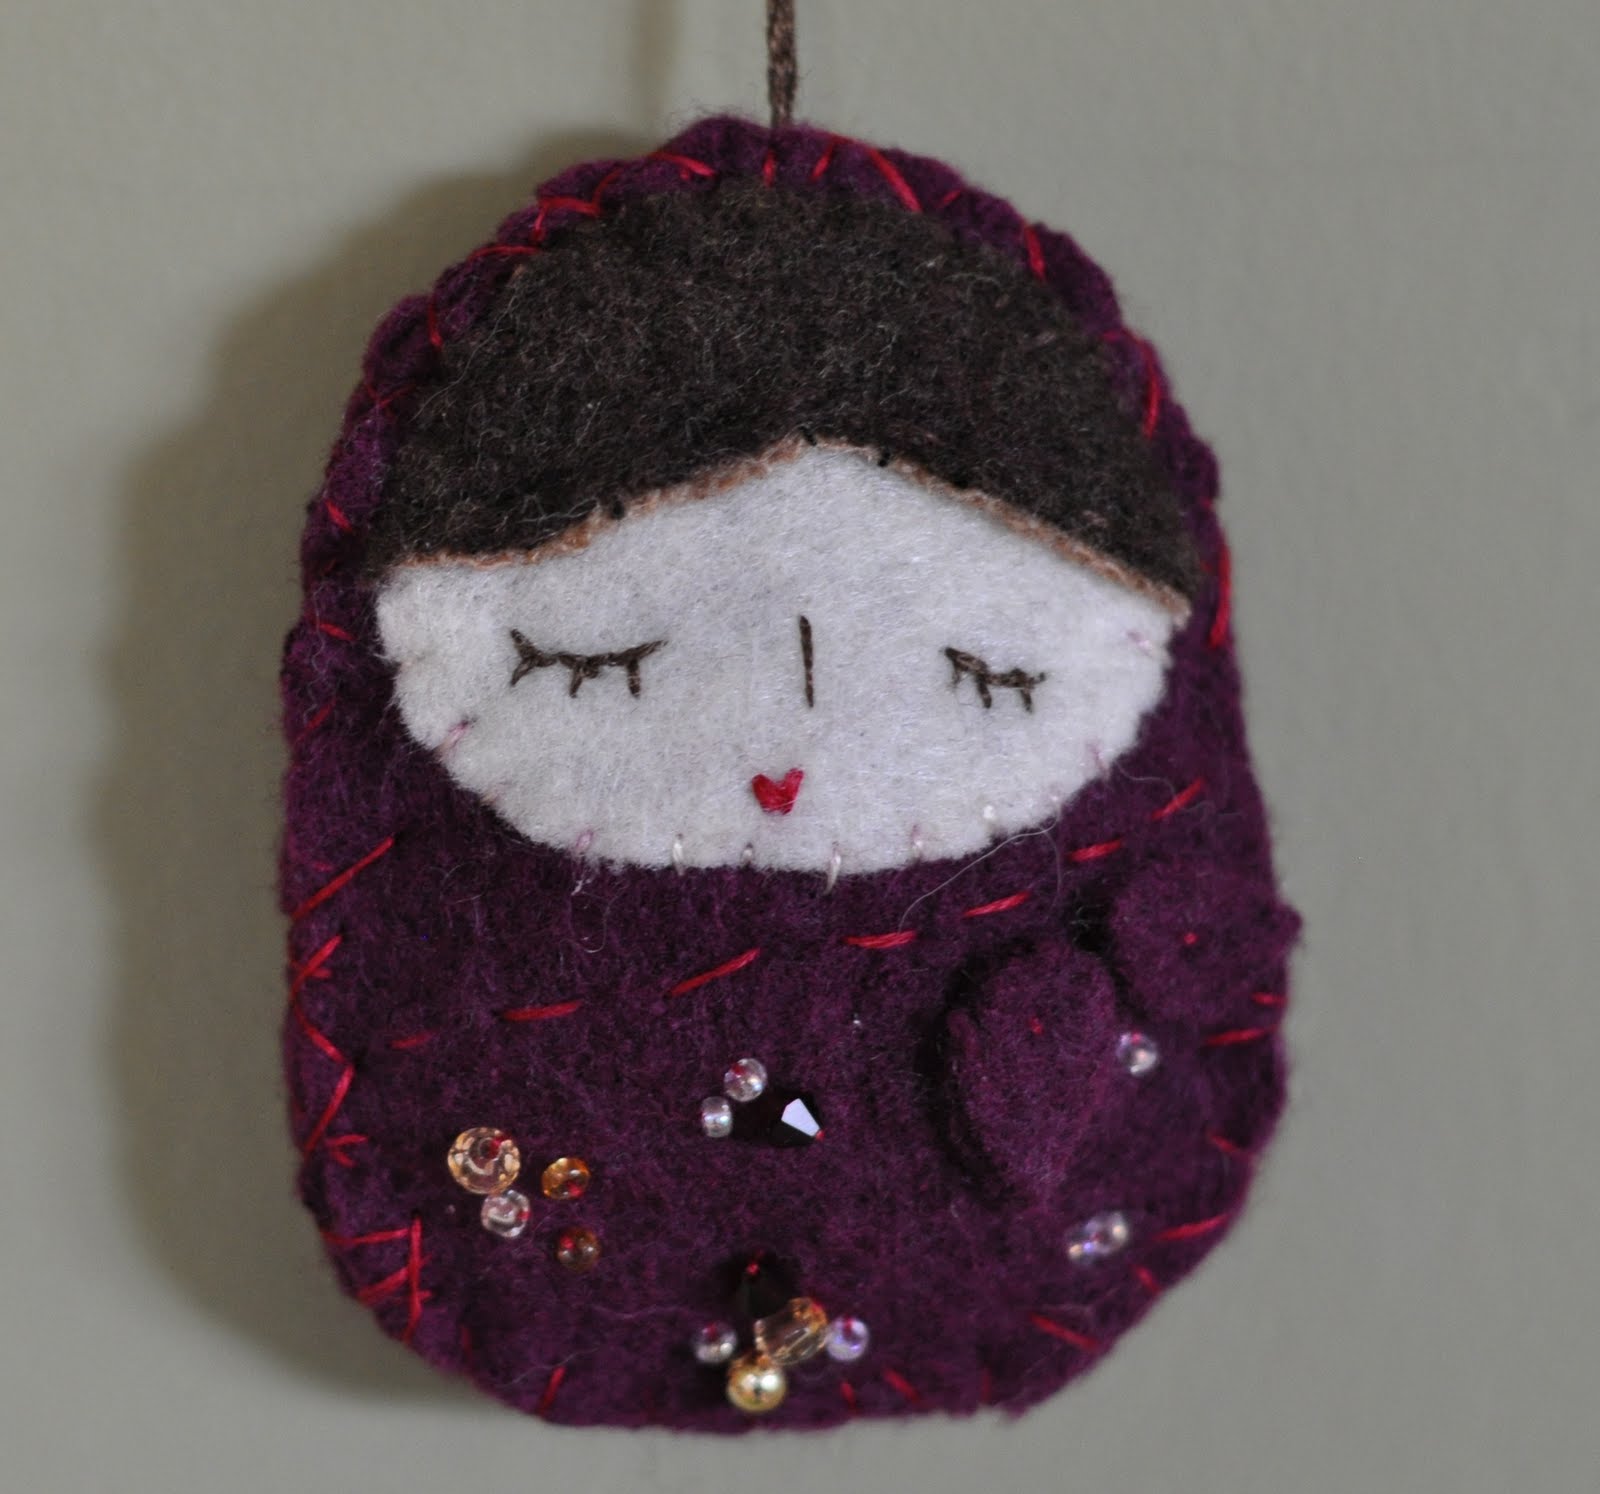
Felt Matryoshka Dolls


I bought the out of print book Felties at Half Price Books for $3!

I really enjoyed making this lovely matryoshka doll last night.  This afternoon I made another, but somehow I forgot to give her a mouth!  She looks like an old granny with no teeth.  Sorry granny doll, without your lips you will not shine.  

I am going to experiment making them different sizes and maybe a more traditional shape.  

They will make such cute ornaments!  
 
Fashion Trend © 2011 | All Rights Reserved | About | Privacy Policy | Contact | Sitemap