The other night I started a knitting project and it took me FOREVER to find matching needles. (I really wish I took a before picture of my knitting basket!) Well, something had to be done...
If you feel inspired to organize your knitting needles, you will need:
1 Long piece of felt
1 Long piece of fabric
Sewing machine or needle and thread
Scissors
Hair tie
Fun button
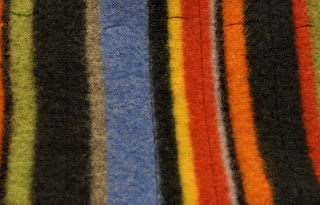
Step 1: Take your felt and cut it to the size you like. I had the perfect long piece that I had felted from a winter scarf. You can felt a wool winter scarf yourself by washing it in the washing machine with the smallest amount of HOT water and the most aggressive wash setting. You may need to run the scarf through a few wash cycles until the stitches begin to disappear and you will have some fuzzy felt. I stretched my wet felt out and laid it on the radiator to dry. Any flat surface will do-- but lay a towel down first to protect your home!
Step 2: Decide where you would like your needles to be placed. Then snip two holes for each pair of needles. My felt was stripped so it was easy to line up my holes. Snip a smaller hole for smaller needles or crochet hooks and larger holes for larger needles.
Step 3: Measure your piece of fabric and pin the hem to match the size of your felt. Hem all 4 sides of your fabric.
Step 4: Squeeze the middle of a hair tie together. Pin it in-between the felt and fabric in the center of one of the short ends. (This will latch to a button for closure.) Sew the felt and fabric together-- wrong sides touching and good sides facing out.
Step 5: Sew boundaries for your needles. Leave more space for bigger needles.
Step 6: Insert your needles into your organizer. Roll it up and mark where the end of the hair tie touches. Sew your button here and close her up!
Looking good! Post pictures or your fancy needle organizer in the comment section!


0 comments:
Post a Comment