Showing posts with label christmas. Show all posts

Monday, December 26, 2011

Christmas Ornaments for Kids Tutorial

I just got home from spending Christmas with my family in the north woods.  It was so wonderful to be together for the holidays!

My family waited until I got there to pick out a tree and we decorated it together.  I love seeing all of my ornaments from when I was little.  I know Christmas is over, but I wanted to share a couple ornaments I found that I had crafted when I was young.
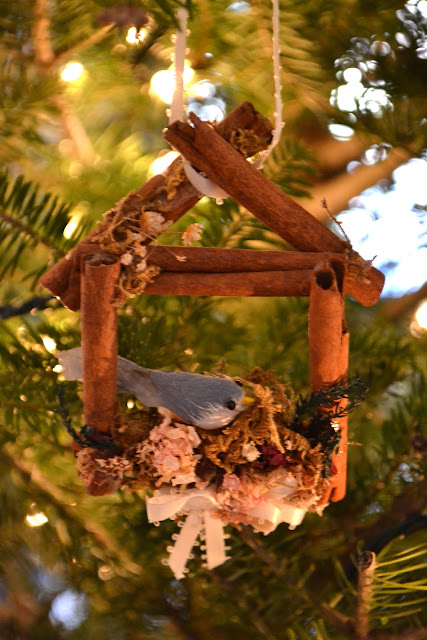
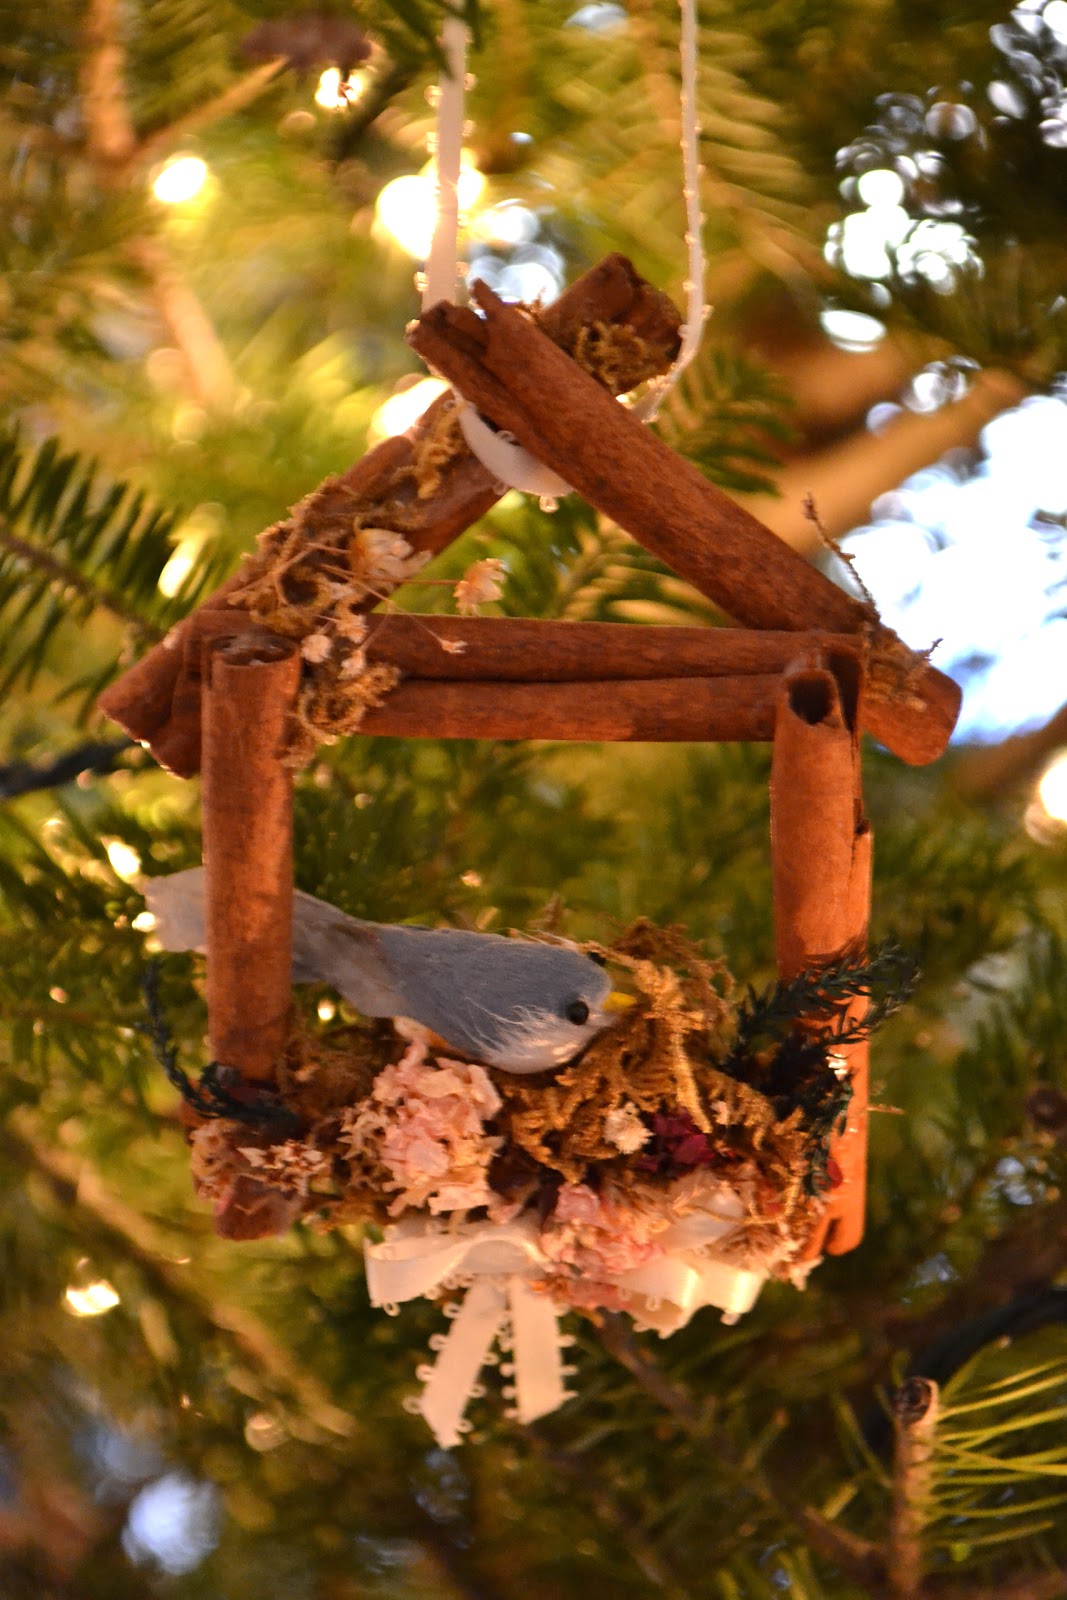
This adorable bird nest ornament is super easy to make with your kids.  As I've mentioned before, my mom is pretty crafty and I made this ornament with her a long time ago.  You can find all of the materials at the craft store, but you might need to stop by the grocery store for the cinnamon sticks.  

You will need:
6 cinnamon sticks
Ribbon
A cute tiny bird
Nest materials-- you could use mossy stuff from the craft store, twigs, raffia, shredded paper, etc...
Dried flowers
Glue -- hot glue works great!

1.  Glue your cinnamon sticks together to form a house shape.  Make a square with 4 sticks and then use 2 to create a triangle on top.  
2.  Form a nest with your nest materials.  Glue it to the cinnamon stick house.  
3.  Glue your bird in the nest.
4.  Decorate the nest and cinnamon stick house with dried flowers and a ribbon.
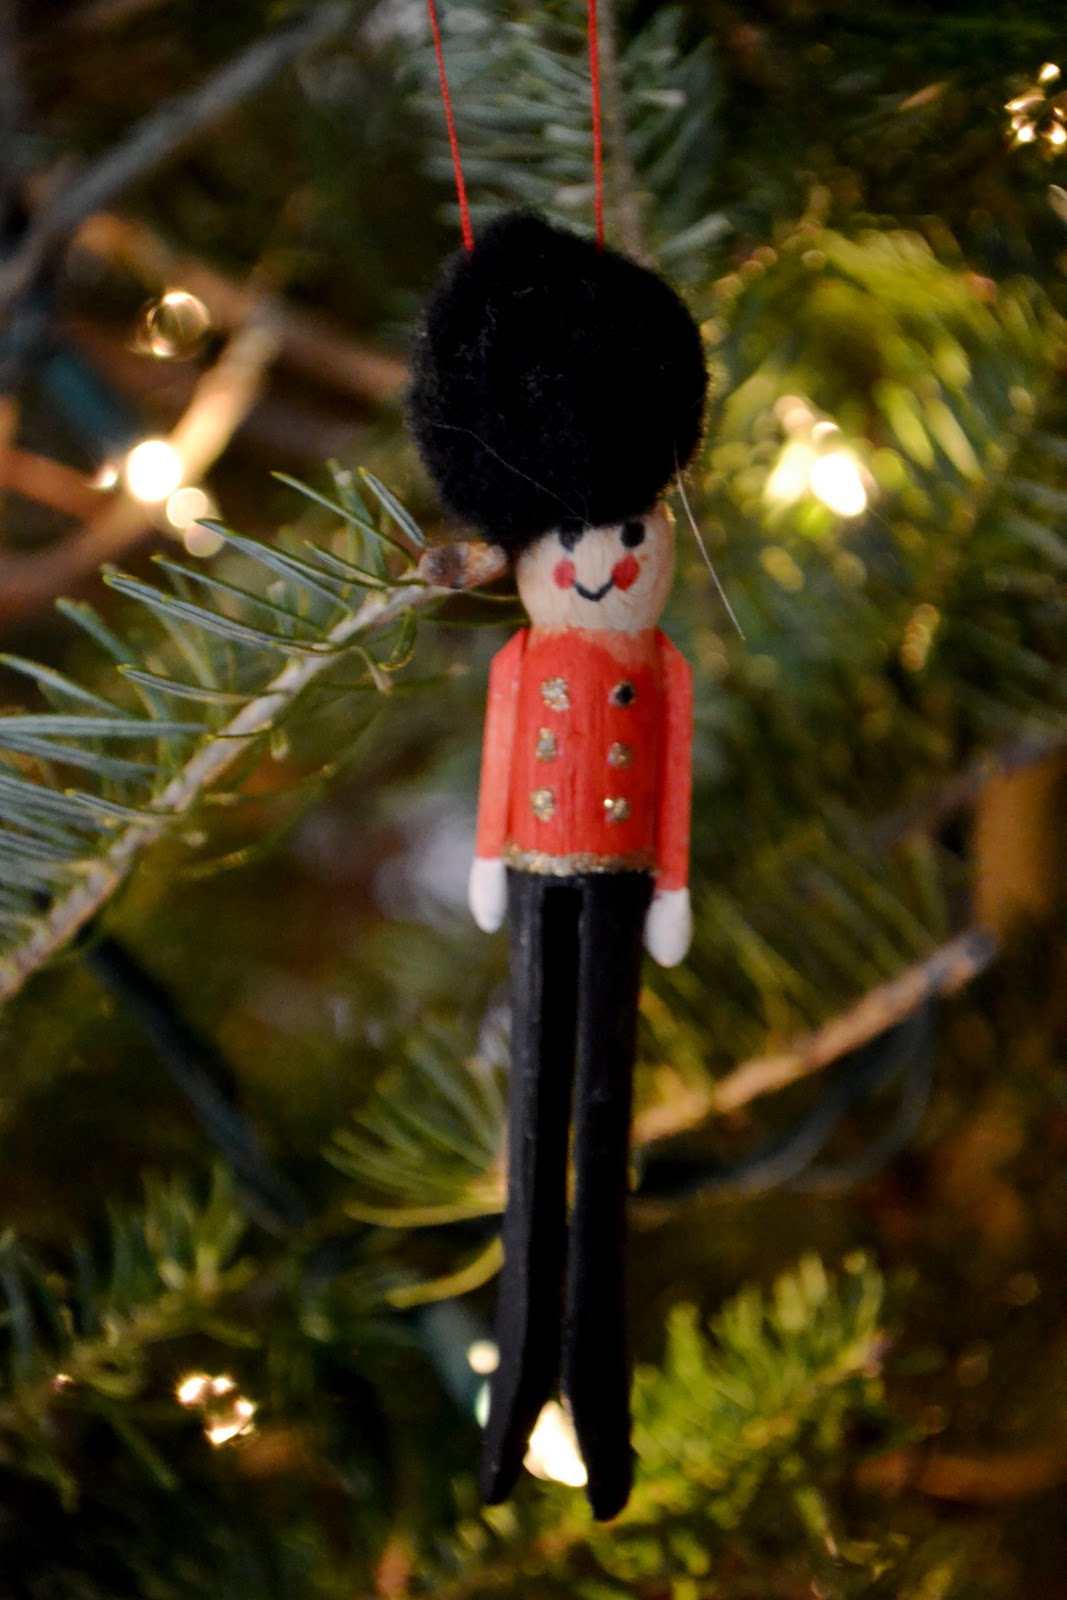
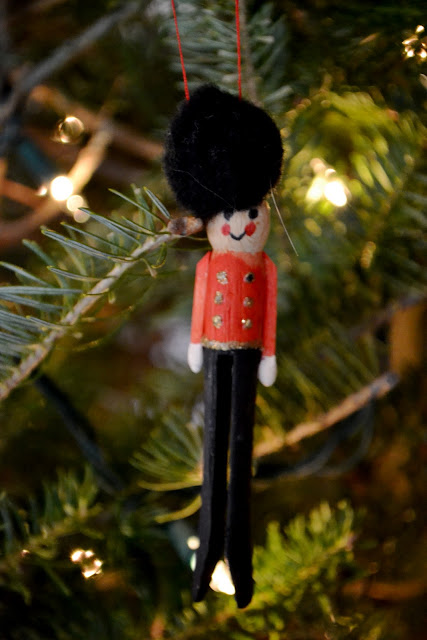
Isn't this little nutcracker ornaments so cute?!  I'm pretty sure he's my handiwork.

To make the nutcracker ornament you will need:
1 Old fashioned clothes pin
Paint
Fine tip Sharpie marker
Black pom pom
2 Wooden matches
Thread or ribbon for hanging the ornament

1.  Glue 2 matches to the sides of the clothes pin for arms.
2. Paint the clothes pin to look like a nutcracker-- black pants, red shirt, gold belt and buttons, and whatever color skin and features you like.  A fine tip Sharpie marker would be great for the eyes and mouth.
3.  Glue the pom pom on top of your clothes pin.
4.  Glue thread or ribbon to the back of the ornament to hang on the tree.

Monday, December 19, 2011

Felt Flowers

Merry Christmas!!!  

I made some lovely felt flowers and wanted to share some links with you.  Felt flowers are so easy to make and look great as on headbands, pins, barrettes... anything really!  If you have some felt laying around-- you could make a fantastic last minute gift topper!  

I tried to follow this flower pin tutorial but I couldn't get the right shape for the stencil!  The next two flowers below are from my own pattern, which I will post a tutorial for next week.  
For this flower, I cut out several petals and sewed the ends together.  I gathered them tightly and stitched a pearl in the middle.  The great thing about sewing your flowers together rather than using hot glue is that you can push the petals around a bit and have more control over your final shape.
These roses are so simple to make!  Follow this rose tutorial to make yourself a rose or two!
Wishing everyone a happy holiday!  

Ocean Ornaments Tutorial

To make a beautiful Ocean Ornament of your own, you will need:
Paint-- white and shades of blue
Paint brushes
Sponge
Flat ornament-- glass or plastic.  I bought mine at Michaels
Sand-- I brought some home from the beach, but any craft store should have sand.
Strong Glue (Optional)
 First paint your horizon 1/3 of the way down on the ornament.  
 Paint a line below the horizon in a different shade of blue.
 Continue painting lines in different shades of blue to create your ocean.  Use your sponge to create the tide about 2/3 down from the top of the ornament.  
Fill your ornament 1/3 full with sand.   
Optional: You can put a small amount of strong glue to the cap of the ornament to permanantly seal it closed.  This will avoid any sand spillage when you store it away for next year!  
I have a Martha Stewart stencil that says "Merry Christmas" -- you could stencil or paint a holiday sentiment or maybe the name of the beach your sand is from.  

Post pictures of your ornaments on Mister G's Facebook page or twitter @MisterGandMe 
Merry Christmas!!  

Friday, December 16, 2011

Pom Poms

Finally, I figured out a use for my handmade t-shirt yarn... Pom poms!  I used all of my white t-shirt yarn to make a snowflake pom pom garland.  Click here for a tutorial on how to make a pom pom.
Believe it or not- but some of my very favorite Christmas things are in the photo above.  The tree stump is from the bottom of John and my first Christmas tree!  Did you notice the tiny snowmen next to the stump?  My mom made them!  They are so sweet.  I love the baby snowman that the mama is holding.  
p.s. that's my craft room behind the garland :) 

It's not red and green... but Marquette's basketball season this year is making John feel like Christmas came early.  I made John this Marquette baby blue pom pom garland to proudly hang above the television for the rest of the season.

Tuesday, December 6, 2011

Holiday Wreath

I have seen so many beautiful holiday wreaths floating around online.  All the inspiration was making me (and Mister G) pretty excited to make one!! 

I gave my wreath a lot of thought before getting started.  I wanted my wreath to be festive-- but also not too classic Christmas.  I was envisioning something "ocean-y" since it's our first Christmas living in a warm climate.  I also came up with the genius idea to incorporate Marquette colors into the wreath to get John excited about it!  (Pretty easy because Marquette baby blue is very ocean-y and also gold is very Christmas-y!)

I picked up a lot of holiday jazz at Micael's--by the way, now is a great time to get a deal on wreath fixins!  I chose golds, silvers, blues, and greens.  When I came home Mister G was nipping at the bag and trying to play with the picks.  

Remember when I made the homemade holiday ornanments?  While I was spray-painting my baby pine cones for the ornaments, I also painted a few big shells gold.    
The big shells needed special help to stay on the wreath.  I cut a piece of yarn and hot glued it to the back of the shell.  One big glob in the center and a line to each side to help the shells lay flat.
After the glue dried, I arranged the shells and tied the yarn tightly around the wreath.  Then I added the rest of my items.  It gets pretty windy at times here-- so I used a dab of hot glue on the bottoms of each pick before I stuck them into the wreath.

I love the sea urchin looking flowers next to the poinsettia!  If you take a close look you will see some baby pine cones too.  
I don't have a wreath hanger yet, so until I pick one up the wreath will be hanging under our house numbers.  See her to the left?
Have you made a wreath this year?  Plans to make one?  Share your pictures on Mister G's Facebook page or Twitter @MisterGandMe .  

Monday, December 5, 2011

Husband Wife Craft Night


Yes, you read that right.  Co-Crafting!
Christmas came early this year!  This Saturday, after watching Marquette win against Wisconsin, John was in an especially good mood and joined me for a night of crafting!  I can't really share what we co-crafted because a lot of it will be gifted-- but it was amazing! It was seriously so fun to work on a craft project together.

Do you craft with your love?

Thursday, December 1, 2011

Holiday Poinsettia Hurricane Vase


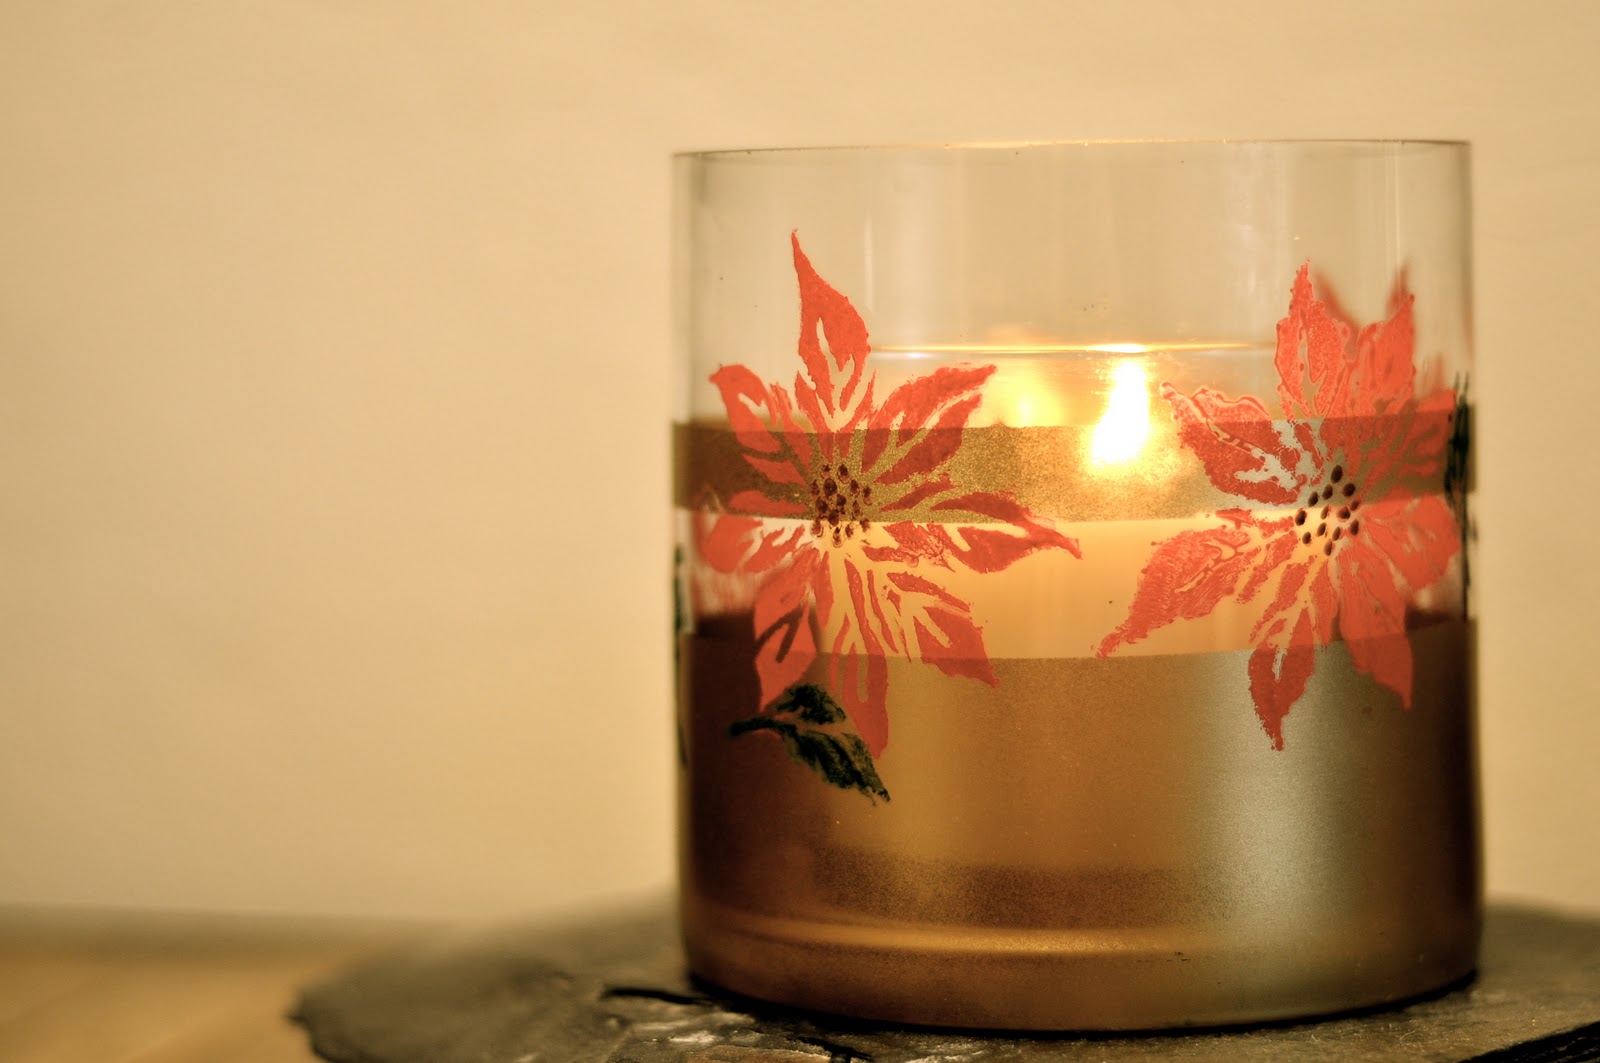
I made this candle vase today following Martha's tutorial for "Holiday Harvest Hurricanes" .  Martha's features autumn leaves and while Thanksgiving came and went-- I'm ready for Christmas!

This is such a beautiful project!  If you buy the stencil kit, you can make one for every season!

A few tips:
**Seriously-- splurge for the Martha products.  I cheaped out on the paint and tape and I was sorry.  I used regular acrylic paint and it was difficult to get a rich, even coat on the glass.  Also, my masking tape peeled up part of the spray painted surface.  I have a feeling the Martha stencil tape would have been a wise investment!
**If you live in a warm climate-- don't stencil in the sun!  The spray paint part got a bit sticky and blemished.

What Christmas crafts have you been working on?

Monday, November 28, 2011

Homemade Ornaments

We put up our tree last night- and I wanted to make a few ornaments.  I had a can of gold spray paint laying around and some perfect small things for ornaments.  

 Some baby pine cones from the beach
A few buttons
A leaf and a piece of my backyard palm tree

I strung them with floss and hung on the tree.  
 I made an adorable garland with the baby pine cones.  
 Remember the felted acorn ornaments?  
Have you made any ornaments this year? 
 
Fashion Trend © 2011 | All Rights Reserved | About | Privacy Policy | Contact | Sitemap