Showing posts with label candle. Show all posts

Wednesday, April 18, 2012

DIY Wedding: Candles

Looking to add a little jazz to your candles?  Here are some fabulous tutorials to make your own candle, embellish a store bought candle, or create stunning votive holders!   xo, Ashley
Lace Vellum Luminarias via Martha Stewart
Candle Making Tutorial via Mister G and Me
 DIY Upcycled Lanterns Vases via Ruffled Blog
DIY Candle Chandeliers via Martha Stewart
Stamped Candles by A Little Sparkle On the Side via Wedloft 
The link is not working-- but you stamp from left to right and roll your wrist to curve the stamp around the candle.  It would be so pretty with a dark candle and white ink!  

Remember the DIY Wedding: Perfect Match post?  
Personalized matches + Gorgeous handmade candles = Perfection!  

More Candle Tutorials:
DIY Rustic Votives via Bayside Bride
Ice Candles via Intimate Weddings

Friday, February 24, 2012

Chalkboard Candle Votives

On Monday I made candles and posted a tutorial!  I wanted to jazz them up a little bit.  

1.  Collect your supplies.  You will need a candle, chalk board paint, accent paint (optional), a paintbrush, and masking tape.  Make your own candle with this tutorial.  

2.  Mark off the space you want to paint with tape.  I couldn't find my stencil or masking tape-- so I used Scotch tape.  Mistake.  I highly recommend not using Scotch tape!!  Use your tape of choice and block off the top and bottom.  Paint chalkboard paint in-between the tape.

3.  Wait for your paint to dry and peel off the tape.  My edges are messy :/  Hopefully your lines are pretty!  I wanted to minimize my messy edge, so I painted a white stripe above my blue chalkboard paint.  

4.  Use chalk and draw or write something!  I drew a heart on one side and wrote LOVE on the other.
Something lovely for your home or a perfect affordable, adorable, and personalized gift!!

Have a great weekend!

xoxo,
Ashley

Monday, February 20, 2012

Candle Making Tutorial

One of my resolutions for 2012 is to be fearless in my crafting!  I want to tackle the crafts I've been longing to try, but don't because they are messy or difficult.  I've always wanted to try making candles-- so here I go!   

I want to take a minute to say that making candles can be dangerous-- so you will need to read all of your directions from your packaging before you start!  The directions I followed might not be appropriate for your project if you are using different materials.  If your supplies didn't come with directions-- use Google to find suitable directions to make your candle and to learn about candle making safety.  If you are under 18, please ask an adult to supervise your project.  
Here are my supplies.  I used soy wax, a candle thermometer, vanilla scent (the white block), pink dye, a candle vase, and a pre-waxed wick.  Cover your work space with newspaper.  It gets a little messy!!
A double boiler would be a great thing to have for candle making.  I made my own by filling a small pot with about 2 inches of water and placing a metal bowl over it.  I boiled the water and then reduced the heat to simmer and melt the wax.


I have a strange phobia about crafting with things that come into contact with food-- so I picked up my little metal bowl at the thrift store for fifty cents.  I was extra careful to not have any wax come into contact with my pot that I use to cook with.  
After you melt your wax according to the directions on your package, chop up your fragrance and dye. I heated my wax to 175 degrees F.
Add the dye first and then the fragrance.
Use oven mits and remove your melted wax from the heat source.  I placed the hot bowl on newspaper-- but if you have fancy countertops, you will probably want to use a pot holder or something to protect your surface from the hot bowl.  Allow the wax to cool to the temperature that your directions recommend.  I let my wax cool to 135 degrees F.
I forgot to pick up the sticky, tacky stuff that secures your wick to the bottom of the candle glass.  Not wanting to run out to the store, I used skewer sticks.  One to wrap the extra wick around and another to keep the wick centered and touching the bottom of the glass.
When your wax cools to the right temperature, pour it in the glass.  Remove the skewer stick that was keeping the wick in place and leave the skewer stick that the wick is actually wrapped around.  Allow the candle to cool for 30-60 minutes.  Stick the skewer stick all the way into the candle right by the wick.  Then heat up your wax to pouring temperature and pour a little bit into the hole.  You just want to pour enough to cover the hole.
Let your candle cool for 4-6 more hours, trim your wick to 1/4", and let your masterpiece shine!

Thursday, December 1, 2011

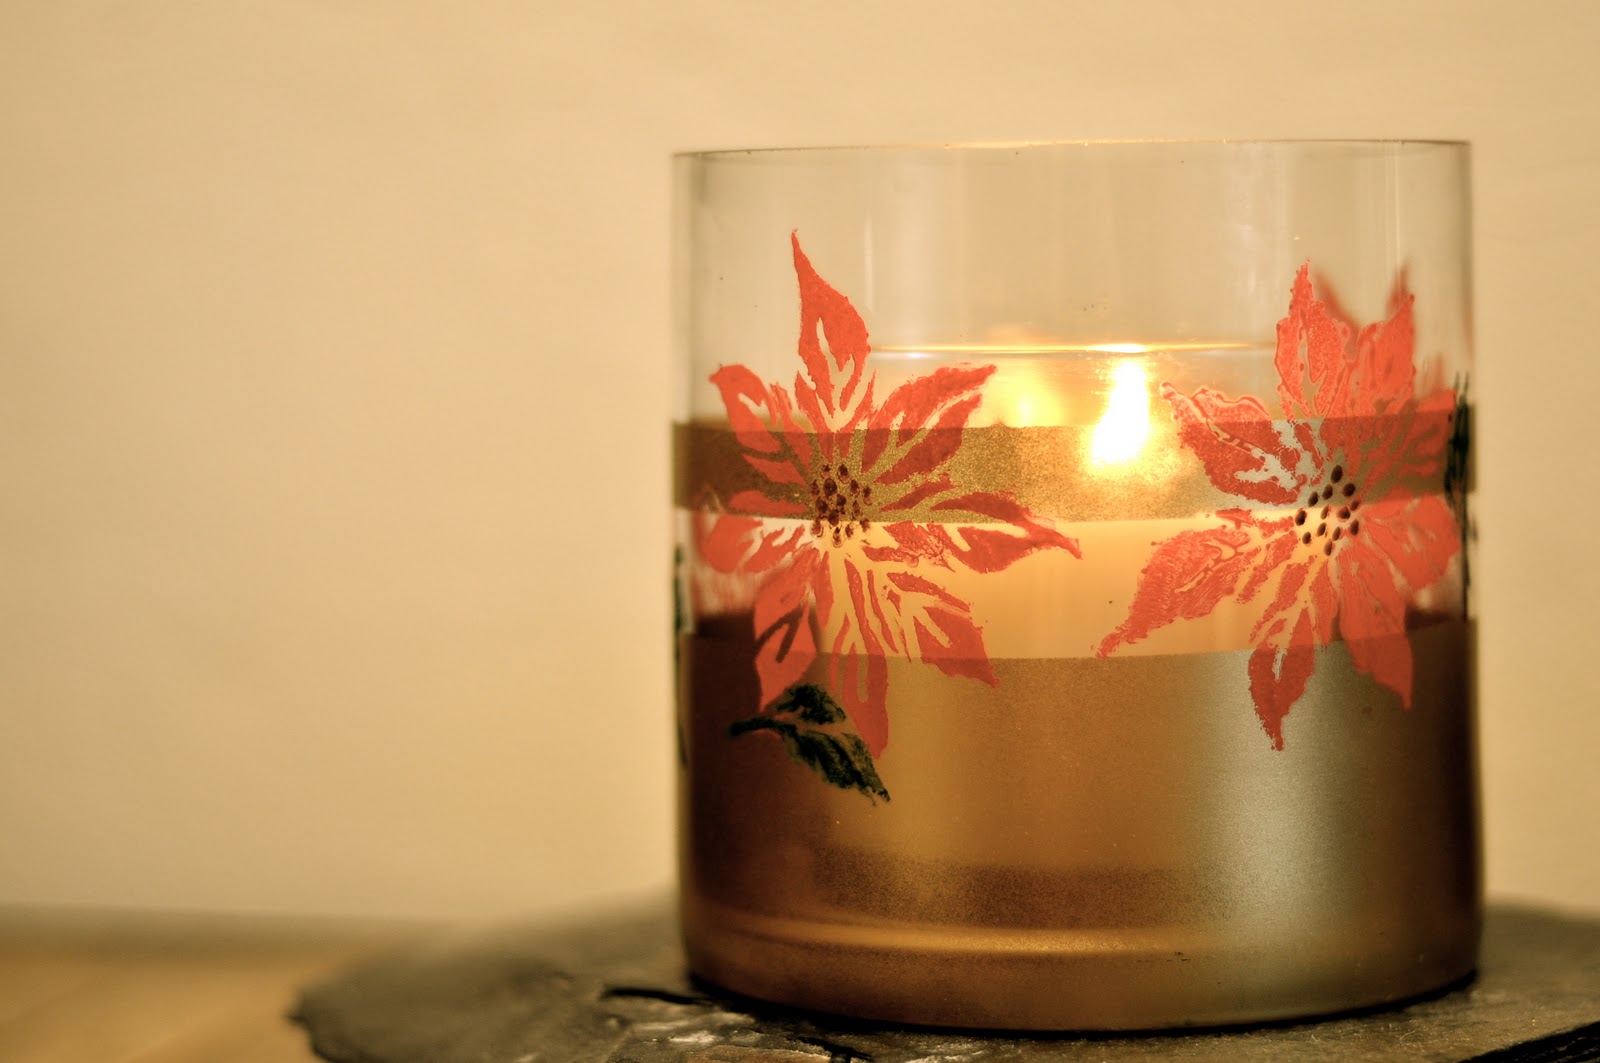
Holiday Poinsettia Hurricane Vase


I made this candle vase today following Martha's tutorial for "Holiday Harvest Hurricanes" .  Martha's features autumn leaves and while Thanksgiving came and went-- I'm ready for Christmas!

This is such a beautiful project!  If you buy the stencil kit, you can make one for every season!

A few tips:
**Seriously-- splurge for the Martha products.  I cheaped out on the paint and tape and I was sorry.  I used regular acrylic paint and it was difficult to get a rich, even coat on the glass.  Also, my masking tape peeled up part of the spray painted surface.  I have a feeling the Martha stencil tape would have been a wise investment!
**If you live in a warm climate-- don't stencil in the sun!  The spray paint part got a bit sticky and blemished.

What Christmas crafts have you been working on?
 
Fashion Trend © 2011 | All Rights Reserved | About | Privacy Policy | Contact | Sitemap