Showing posts with label knitting. Show all posts

Friday, March 9, 2012

Chevron Stitch Patterns

TGIF!  Hope everyone had a great week and is ready for the weekend!  Any crafting planned?  I plan to finish my chevron stitch washcloth and maybe knock out a few more before Monday rolls around again.  I've been having so much fun working the chevron stitch-- and you can too!
Happy knitting :)  Here are some awesome patterns for you!
Knit Lace: Simple Chevron via Lion Brand
Lace Chevron Pattern via Time to Craft
Pattern from Vogue Knitting Stitchionary: Volume Four via Lion Brand
Chevron Stitch via Tricksy Knitter
Chevron Scarf Pattern via Falling Up

More resources:

Tuesday, January 17, 2012

Newborn Knit Uggs : Free Pattern

I have been "working" on making baby Ivy some pink "Uggs" for a while now to match her pink baby sweater!.  I finished the first bootie a long time ago... and waited and waited and waited to get the motivation to knit the second.  If you're a knitter, you might agree with me -- making the second sock, bootie, mitten, etc... is just the worst!  I think it's because I've already had the satisfaction of finishing the first one and making the second one is just anti-climatic.  While Jessica was here this past weekend, I roped her into knitting a "few rows" for me.  One thing lead to the next and she finished the second half of bootie #2!  Aren't they so cute?!!

Today, my Florida BFF Kayla and I had a fun afternoon working on projects and shopping for craft supplies.  Kayla is an amazing photographer and she showed me a few no-flash photography tricks and gave me a quick PhotoShop lesson.  Look at the photos below-- the one on the left is the original and the right is the photoshopped version.  Kayla worked her magic to brighten up the image, create a soft and warm glow, and even took out the orange lighter in the left corner!  
I can't wait to go to the post office tomorrow morning and send baby Ivy her "Uggs".  If you want to get your needles click clacking and make a pair for your favorite baby-- scoot over to Hipknitized to print out the free pattern!

<<update: the link isn't working anymore.  if you want a copy of my scanned print out-- send me your email address and I'll send you a copy! >>

Monday, January 16, 2012

Knit Flamingo Free Pattern

My long-time BFF Jessica came to visit this weekend-- and she made me this knit flamingo!  I recently moved to Florida-- so he makes an extra fun addition to my life!  Jessica found the patern on Ravelry.com -- Click here to see the free pattern!  

Jessica is a crafting all star.  She is a pro knitter, sewist, and general crafter!  You can see some of her other projects at her blog Under the Apple Tree.  

Our weekend together was so fun!  We went thrifting on Friday and found lots of great finds-- my greatest was a hand-knit cardigan with a delicate lace-y sticth!  On Saturday, John joined us and we strapped our bikes on the car and headed down to Key West for the night!  (G had a sitter-- he wasn't too happy to miss out on all the fun!)  It was amazing to ride bikes across the island, enjoy great food, and get some top shelf people watching in!
Hope y'all had a great weekend too!

xoxo,
Ashley

Wednesday, December 28, 2011

Turn An Old Sweater Back Into Yarn Tutorial

Hi Friends!  Hope y'all are enjoying the holidays and spending some quality time with your loved ones!  

My friend Jessica once told me that you can turn a sweater back into yarn!  I gave it a try and it's true!  You can turn almost anything back into yarn to make something new.  This is fantastic news for thirfters because you can salvage some really great wool yarn from inexpensive, ugly sweaters!  

I made this shawl two years ago with really lovely baby alpaca yarn.  I wore the shawl once to cut down a Christmas tree.  It's just not right to waste such amazing yarn on something that receives so little love.  

I'll show you how to deconstruct your sweater back into yarn.  
Gather your supplies-- an old sweater or previously knit item and a pair of scissors.    
Snip the edge where the sweater was cast on or binded off.  You will want to snip stitches along the edge of the garment.  You don't need to snip every stitch-- maybe one stitch ever half inch or inch along the edge.     
Very carefully, stretch the area where you snipped and the yarn will begin to unravel.  Short pieces of yarn should come loose and you will discard these pieces.  Once you have broken up the entire edge, you will be able to tell where to begin unraveling.  
Pull the yarn and continue unraveling your sweater.  Your yarn might get tangled while you unravel.  It's fine-- just snip your way out of the mess and tie the ends together to make a continuous pice of yarn.  You can roll your yarn into a ball as you unravel or wait until you are finished.  
Have fun "making" your yarn!  

Monday, November 7, 2011

Newborn Knit Legwarmers for Baby Ivy

Baby Ivy's One Month birthday was on Saturday!-- so I knit her up a fancy pair of leg warmers.
My sister Meg and little Ivy live in Wisconsin and it gets pretty cold there!  Brrrr.... I knew Ivy's precious little legs would love to keep cozy in some super soft baby alpaca leg warmers!  
I followed this pattern from Hippie Stitch.  I used baby alpaca yarn in cream and merlot.  
Mister G loves when I knit!  He likes to snuggle up on the couch with me and watch 30 Rock.  Here are my finished newborn leg warmers.
When I learn to crochet, I hope to make myself a pair similar to these amazing leg warmers from Free People.  I'm thinking a cream color or maybe even mustard!

Monday, October 31, 2011

Knitting Needle Organizer Tutorial

The other night I started a knitting project and it took me FOREVER to find matching needles.  (I really wish I took a before picture of my knitting basket!)  Well, something had to be done...  

If you feel inspired to organize your knitting needles, you will need:
1 Long piece of felt
1 Long piece of fabric 
Sewing machine or needle and thread
Scissors
Hair tie
Fun button

Step 1: Take your felt and cut it to the size you like.  I had the perfect long piece that I had felted from a winter scarf.  You can felt a wool winter scarf yourself by washing it in the washing machine with the smallest amount of HOT water and the most aggressive wash setting.  You may need to run the scarf through a few wash cycles until the stitches begin to disappear and you will have some fuzzy felt.  I stretched my wet felt out and laid it on the radiator to dry.  Any flat surface will do-- but lay a towel down first to protect your home!  
Step 2: Decide where you would like your needles to be placed.  Then snip two holes for each pair of needles.  My felt was stripped so it was easy to line up my holes.  Snip a smaller hole for smaller needles or crochet hooks and larger holes for larger needles.  
 
Step 3: Measure your piece of fabric and pin the hem to match the size of your felt.  Hem all 4 sides of your fabric.  
Step 4: Squeeze the middle of a hair tie together.  Pin it in-between the felt and fabric in the center of one of the short ends.  (This will latch to a button for closure.)  Sew the felt and fabric together-- wrong sides touching and good sides facing out.   

Step 5: Sew boundaries for your needles.  Leave more space for bigger needles.  
Step 6: Insert your needles into your organizer.  Roll it up and mark where the end of the hair tie touches.  Sew your button here and close her up!
 Looking good!  Post pictures or your fancy needle organizer in the comment section!  

Thursday, October 27, 2011

What I've Been Working On...


Hi Friends!  Hope you're all having a fantastic week!

I have been working on quite a few exciting projects, which by the way, are all eco-friendly repurposed projects.  Even though they are all in various stages of "unfinished"-- I want to fill you in on what's been keeping me busy.
First... I started making the famous towel bath mat that has been floating around Pinterest lately.  A word to the wise: this is a messy project. I was very surprised to learn when you cut terry cloth, thousands and thousands of tiny little shreds of the nubbies fall off and stick to your clothes, your couch, your carpet, your dog... I tried to vacuum them up- but some cling for dear life to my living room.  I had intended for this to be a night time/watch 30 Rock/zone out kind of project, but live and learn.  This project has been re-designated as an outdoor craft.

Also, the lady in the video tutorial says that the project is time consuming... And she's NOT kidding.  Believe me when I tell you-- I have probably invested 3 or 4 hours into cutting, threading, and knotting the strips into the mat.  I'm probably less than 10% done.  Patience... Patience...

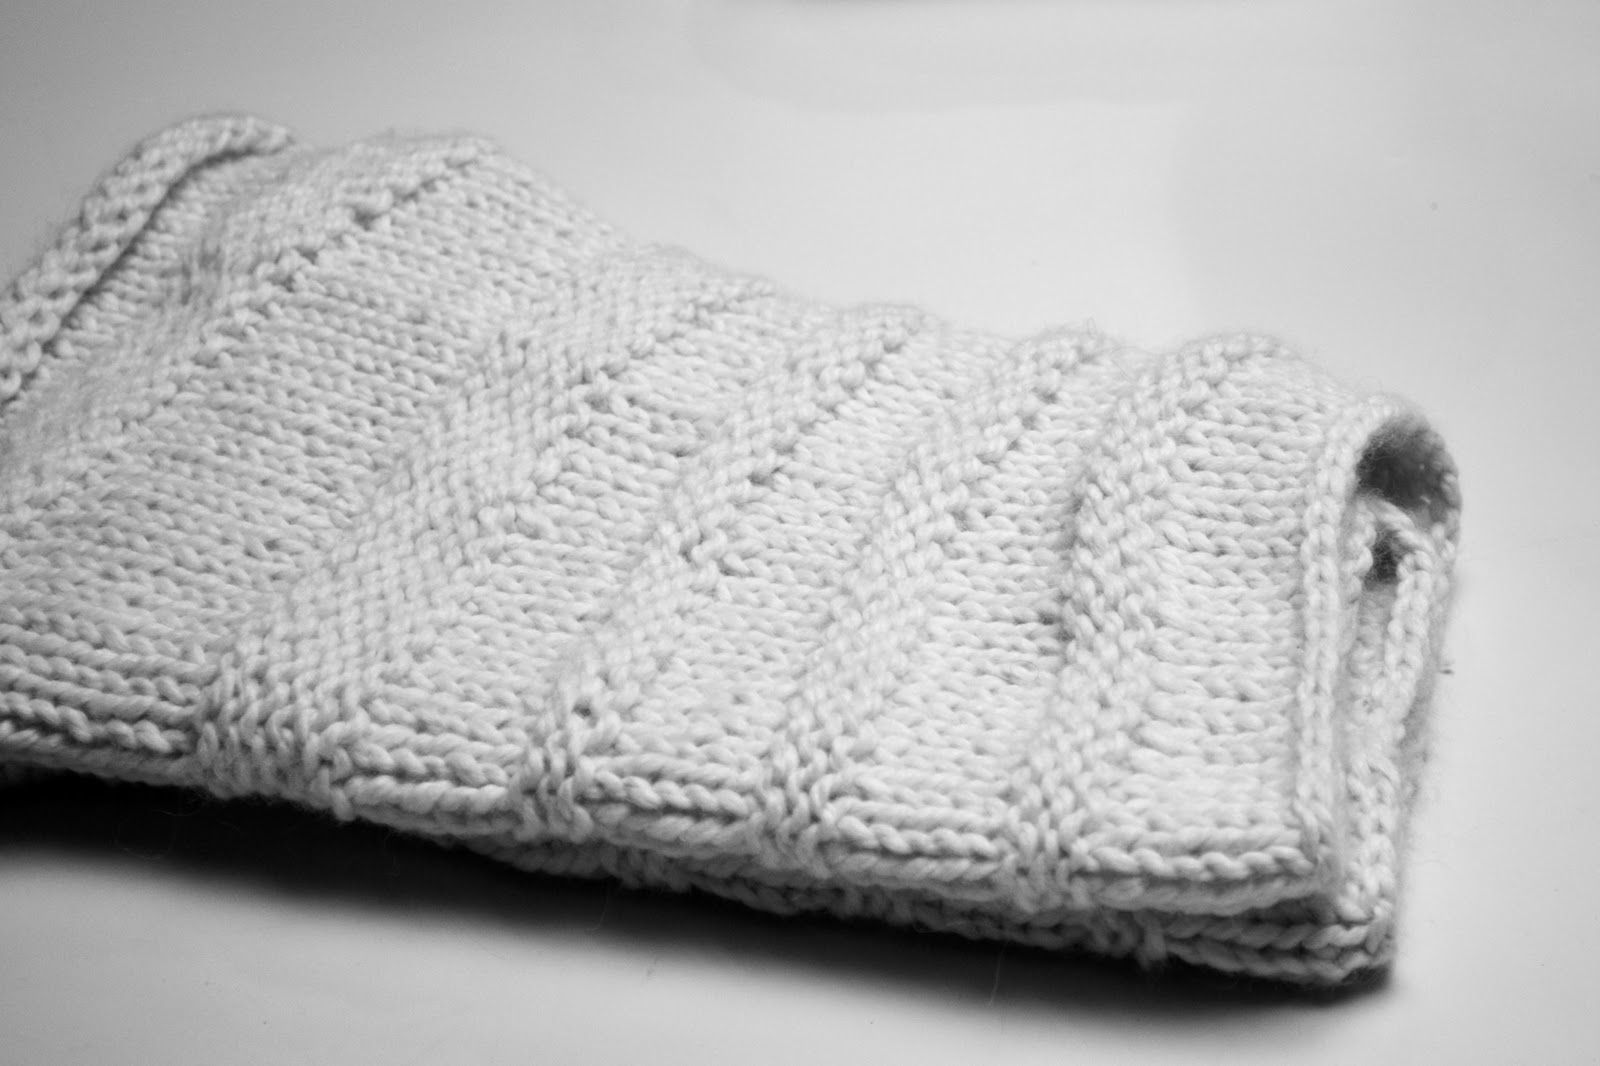
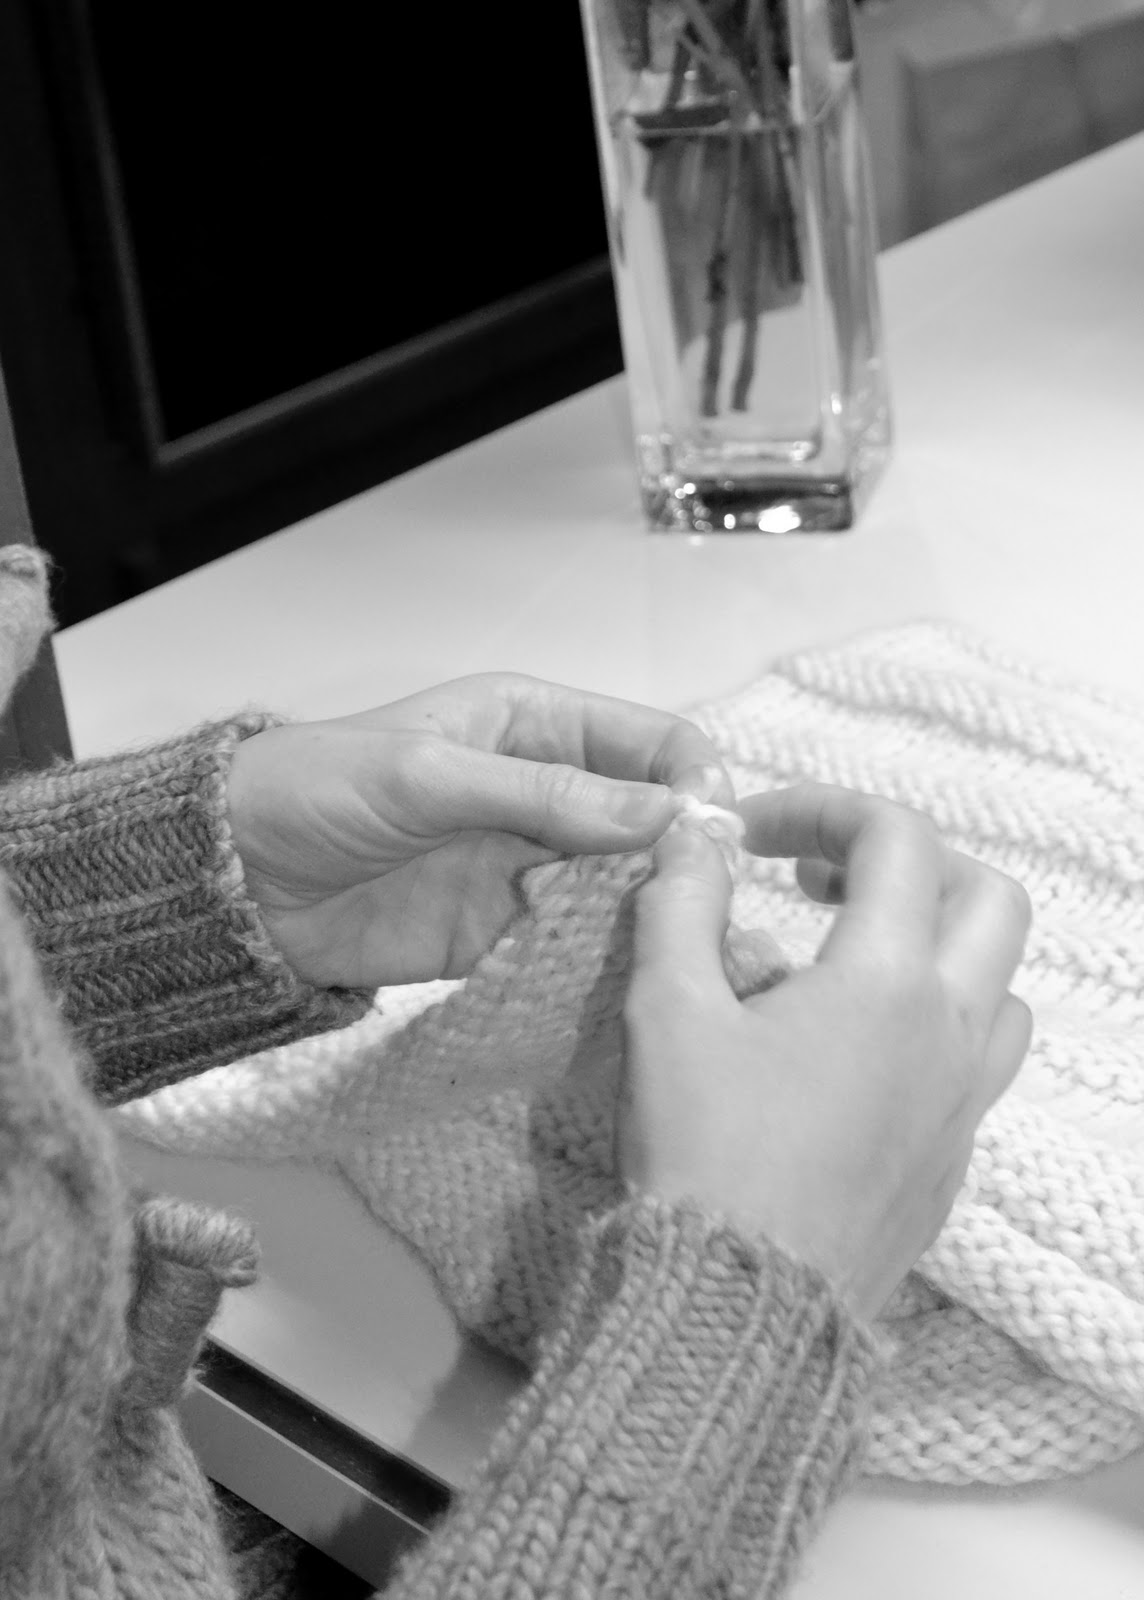
Another eco-friendly craft I've recently tried my hand at is making yarn from t-shirts.  It's so easy and fun.  Here's a great tutorial that offers a fantastically easy way to make t-shirt yarn.  I first spent a LONG time cutting my t-shirt coil by coil- which resulted in an uneven "yarn".  After I make a few balls of yarn I plan to knit a few dish rags.  I am keeping my eye out for patterns to knit other goodies with t-shirt yarn.  If you know of any great patterns post them in the comment section.  :)

Finally, the project I'm most excited to share with you is.....

I'm making my first quilt!!!!!!  (You may have noticed I was banking all of my exclamation points in this post for this very moment!!!!!!) My great-grandma was a wildly talented quilter and I hope to one day give all of my babies and great grandbabies beautiful blankets that they will treasure forever!

I have been studying this fantastic site Diary of a Quilter to learn how to quilt.  It's an amazing free resource.  So far I'm still in the square cutting phase.  I have been using ripped, stained, or well loved but "too college" looking clothes for my squares.  Once I cut up all of my clothing fabric I will assess the color situation and head to the fabric store for some jazzy patterns that add some sparkle to my squares.

You may have noticed Mister G's guilty face at the beginning of the post.  I caught him with a big stack of squares in the living room-- some wet with slobber :(

What have you been working on lately?  Tell me about your projects in the comment section!

xoxo,
Ashley and Mister G

Thursday, October 6, 2011

Baby Ivy and some of her handmade swag!

Baby Ivy Eleanor is here!  
Here is Megan and Ivy the day after she was born.  It was such a beautiful experience to witness another person coming into the world.  I was honored to be Meg's breathing coach during the delivery and be there to share the special day with her and Ivy.  I am so proud of her!!!
I knit this blanket for Ivy with the most luscious organic cotton.  It was an absolute treat to make!  The color is just perfect too!! Megan isn't into super pink things-- I was so thankful to find this dusty rose colored yarn that I knew she would LOVE.  
I embellished this onesie with handmade flowers using the DIY Flower Garland tutorial featured on craftgawker.  
I thought white flowers on a white onesie would be adorable!  I asked hubs for a clean t-shirt, put on some HGTV House Hunters, and got busy!  


3 Tips for this project:

1.  For small flowers, use a small spice bottle to trace your circles onto the t-shirt.
2.  Use a needle grip!  My fingers hurt something fierce by the time I was done.
3.  You can use a washable fabric pen if you have one.  If not, don't worry about cutting the circles perfectly to avoid the lines.  Use a pretty color marker to add a hint of contrasting color to your flowers.


As you may recall, I embroidered some French knot sheep on a onesie  for Ivy.  This was too cute to keep a surprise-- but still the in-person response was over the top.  My mom and sister are both pushing me to make and sell some more embroidered onesises.  The sheep take a while, but it could turn into a nice source of supplementary crafting income :)

Do you have any favorite baby crafts to share?  I would love to see them!!!

xoxo,
Auntie Ashley and Mister G 

Friday, September 16, 2011

Packing Up My Sewing Machine


Packing for a weekend trip is a big challenge for me. Packing a suitcase with everything I need for a month- and putting everything else into a box is indescribably hard!

As some of you may know, my husband recently started a new business in Florida with his friend and we are relocating there. My sister is 38 weeks pregnant- so I need to have my move in order before her little one makes her grand entrance into the world!

The movers are coming on Wednesday to put our things in storage. The following week is my sister's due date and the next week my husband and pup travel down to Florida. I will stay with my sister and niece for 2 weeks and then fly down to my new home- reuniting with my hubs and Mister G!

Not surprisingly, my craft supplies have been the hardest things to box up. I am sad to put away my sewing machine today. After my sewing things are all packed up, that will leave only 1 knitting project, my felt, embroidery supplies, and jewelry supplies.

I plan to make some jewelry over the next week-mainly because I keep all of my tools and jewels in a vintage tackle box that can be moved on its own without a box.

What kinds of crafts do you make with few small things? I'm excited to see what I can come up with with just a small basket of supplies!!

I also just got the book "The Knitting Sutra" from the library and the first few pages have been fantastic!!! I'm certain I will finish it before part one of the move begins next week!


Fashion Trend © 2011 | All Rights Reserved | About | Privacy Policy | Contact | Sitemap