Showing posts with label cheap. Show all posts

Thursday, April 19, 2012

DIY Laundry Soap: Eco-friendly and Cheap!!!

With Earth Day right around the corner, I keep thinking about ways I can go easier on the Earth.  Lucky for me-- DIY projects and frugality are very green pursuits!   Today I am sharing how to make your own laundry detergent.  Be sure to stay tuned this week-- I have a couple more green DIY projects lined up for you!

My husband has really sensitive skin and most detergents make him break out into a crazy rash.  His dermatologist said to only use a detergent that he knows won't irritate his skin and use it every time--no exceptions!  Several "natural" fragrance free/dye free detergents even irritate his skin.  Seventh Generation Fragrance/Dye Free is John's favorite-- but it's so expensive!

My friend Jackie found a recipe to make your own detergent.  The recipe yields 10 gallons (!!!) and only costs about 20 cents per gallon!   It's a fun project to make with a friend and split your bounty.  
This recipe makes 10 gallons!  Think about it-- that's 10 plastic jugs that you're not consuming!

I have used my DIY detergent in a few loads so far and have been really impressed!  I've been sniffing my clothes as I take them out of the machine for quality control.  I'm happy to report my clothes are smelling mighty fresh and clean!  Click here for directions to make your own detergent.  

Wednesday, January 18, 2012

Wedding Wednesday

Happy Wednesday!

My friend Jessica got engaged over Thanksgiving and will be getting married to her love in May!  I'm helping her come up with creative, inexpensive wedding ideas!  Every Wednesday I'm going to report back to you and share what I come up with!
Artichoke Wedding Ideas
They even show you how to make a tea light votive holder from an artichoke!!
DIY Wedding Matchbooks
DIY Wedding Cake Topper Kit

xoxo,
Ashley


Wednesday, January 4, 2012

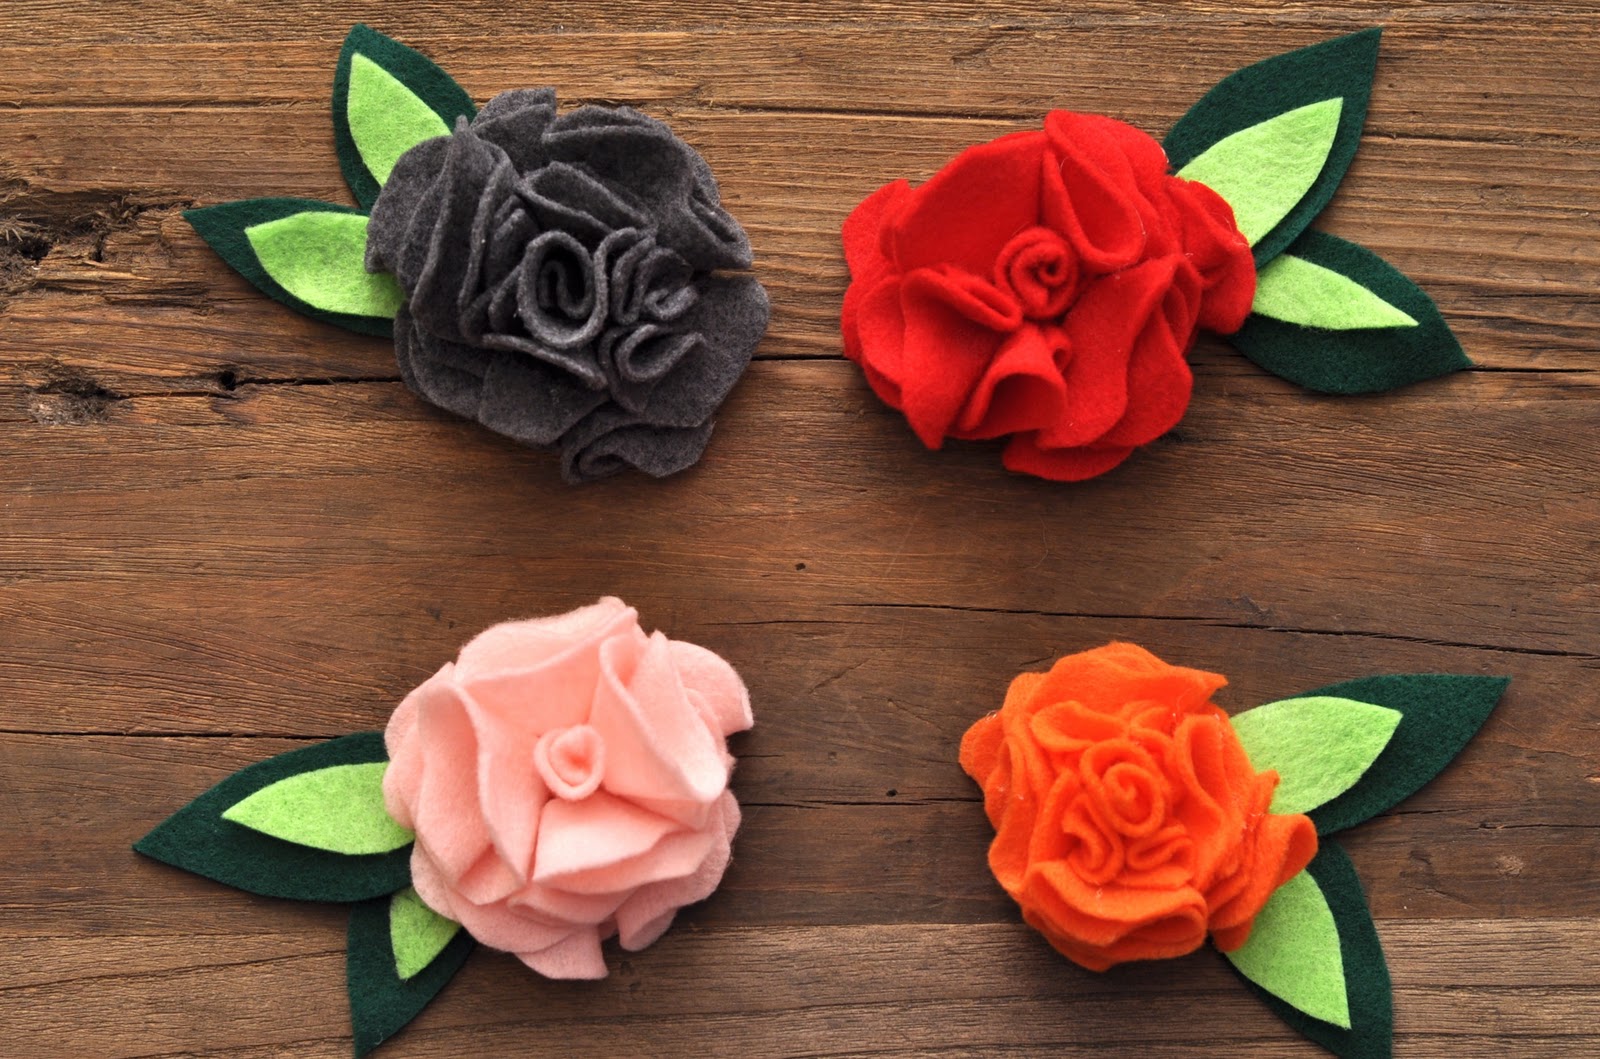
Felt Rose Tutorial

I promised to post a tutorial showing you how I make my felt roses.  I know there are a lot of tutorials for making felt flowers out there-- but I wanted to make my mine because it's so easy!  No downloadable templates, no tracing on felt... 

You will need:
1 sheet of felt for your flower
1 sheet of felt (or scraps) for your leaves
Hot glue gun
Scissors

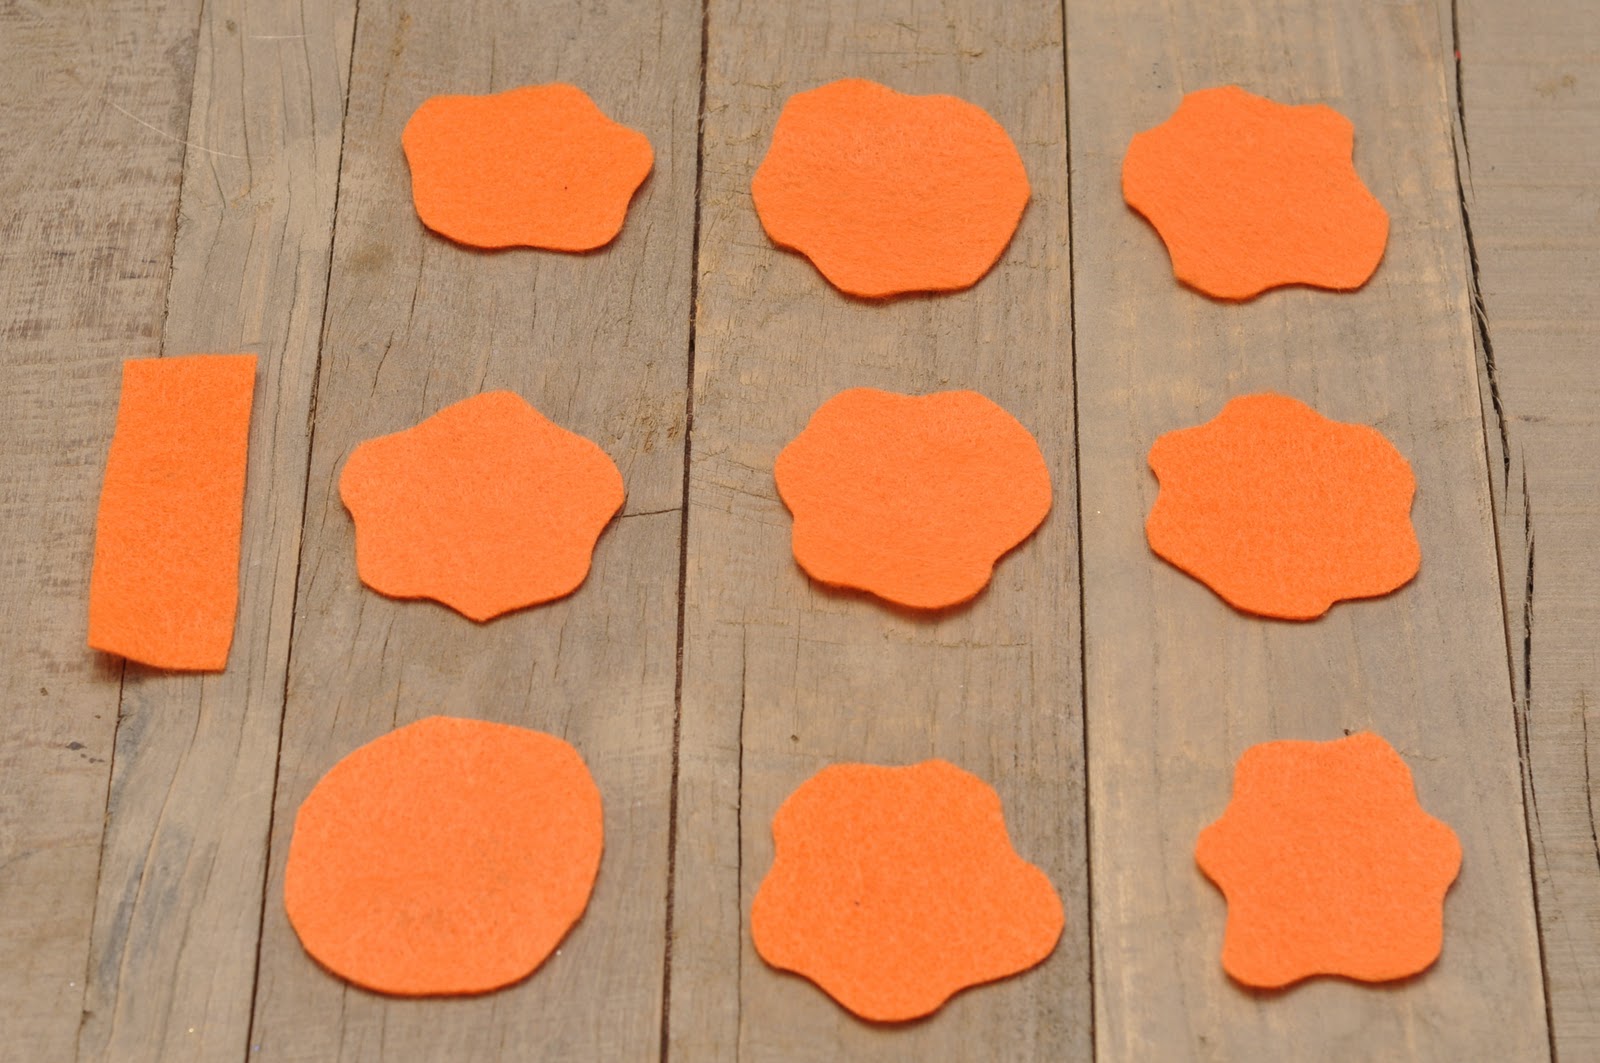
First, take your felt and fold it in half (hamburger style).  Fold it in half again.  Cut down the folds so you have 4 long strips and then make 3 cuts, yielding 3 sets of squares and a skinny rectangle.  
 From your squares, cut 9 circles.
Cut around the edges of 8 of your circles to make a scalloped edge.  Trim the edge of the 9th circle to make it a bit smaller-- this will be the base of your flower.  Grab your skinny rectangle too.
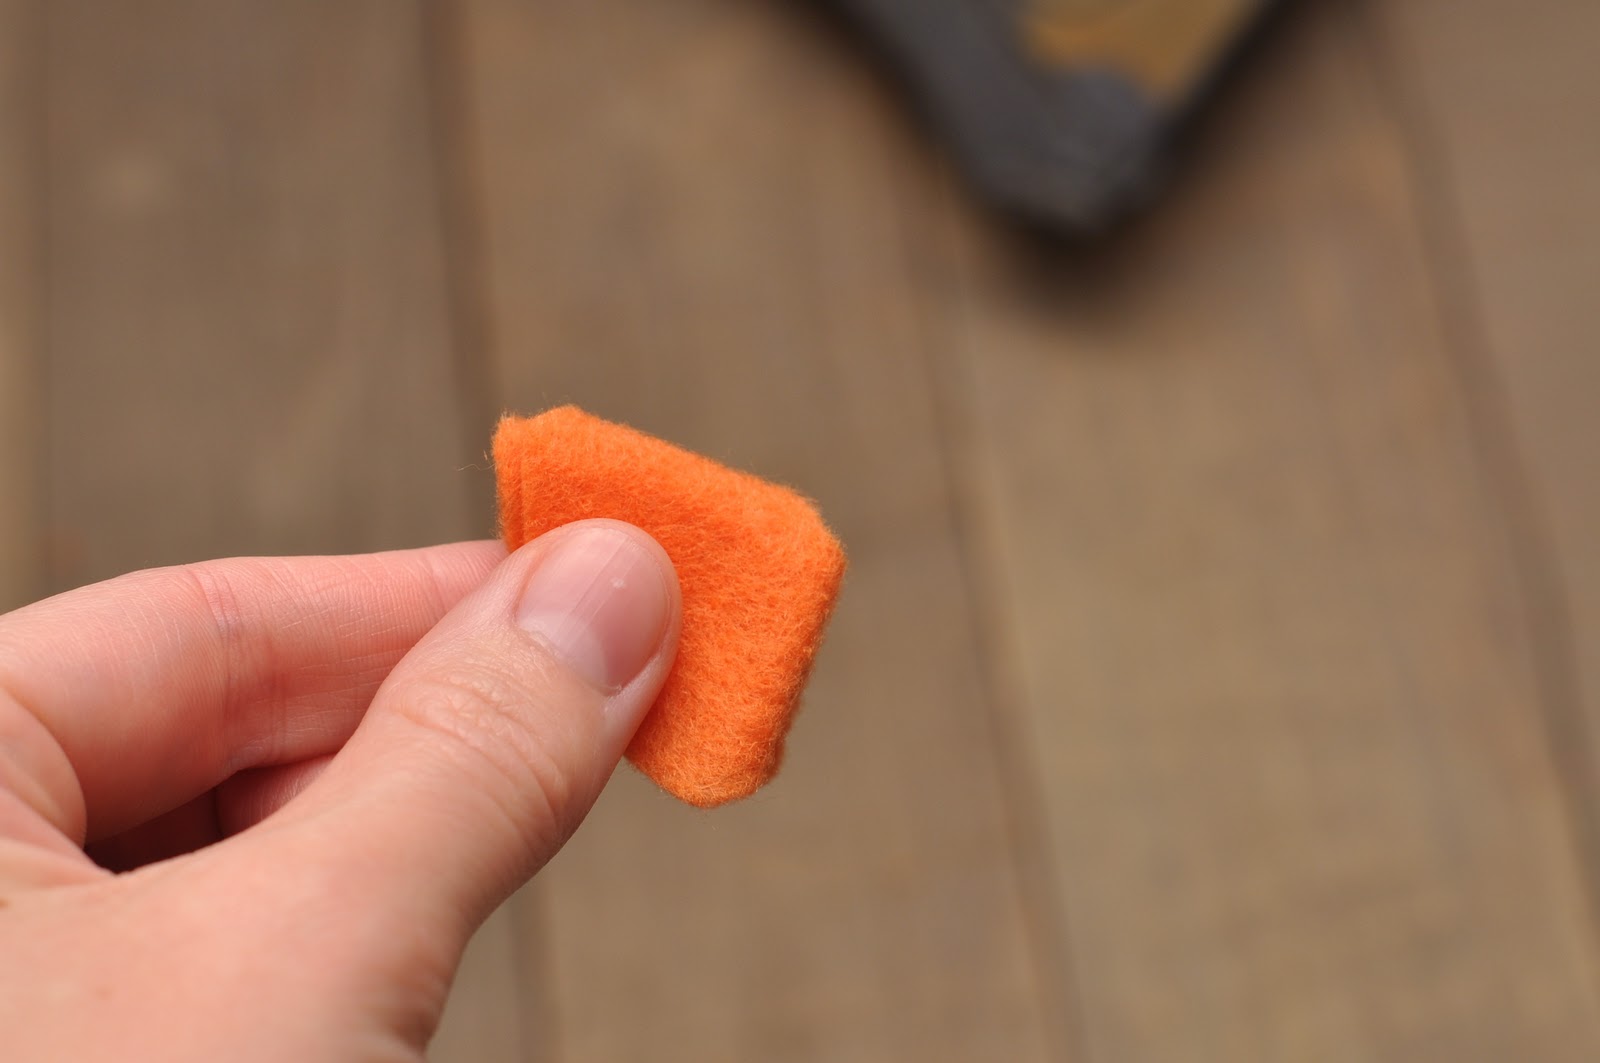
 Fold your scalloped circles in half, and then half once more.  Snip a tiny bit off of the tips.
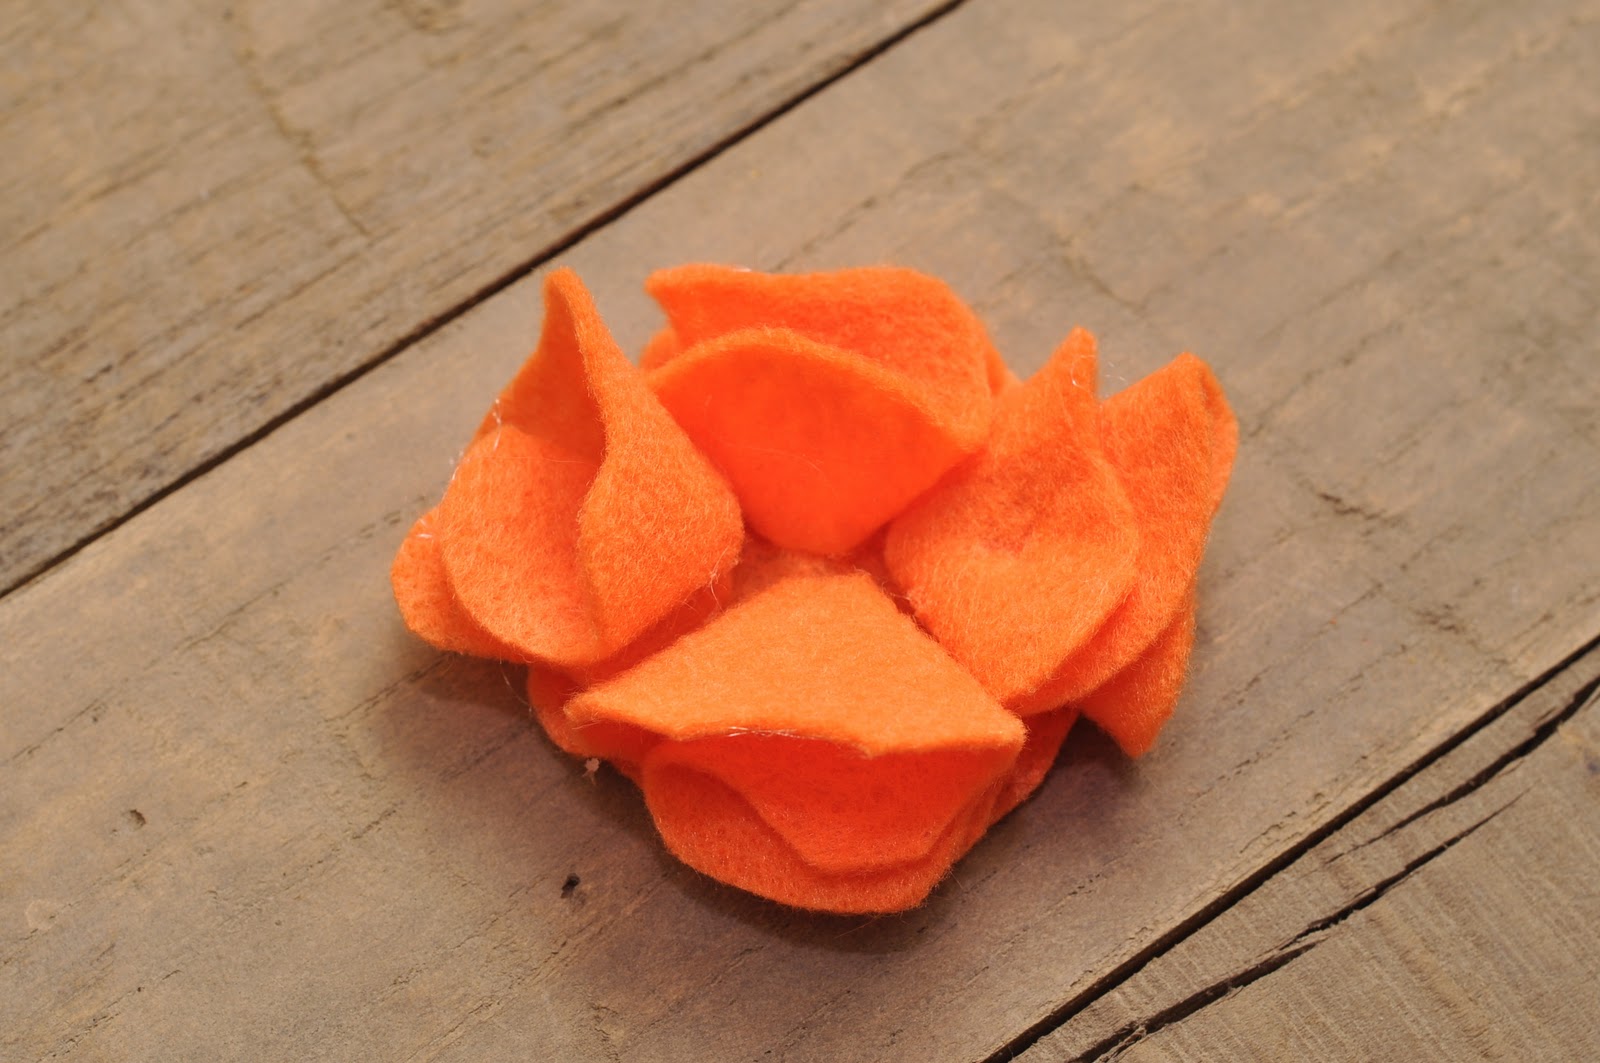
 Using hot glue, glue 4 folded, scalloped circles to the base of your flower.
Glue 2 more folded, scalloped circles to your flower-- opposite of each other along the seams of the base petals.
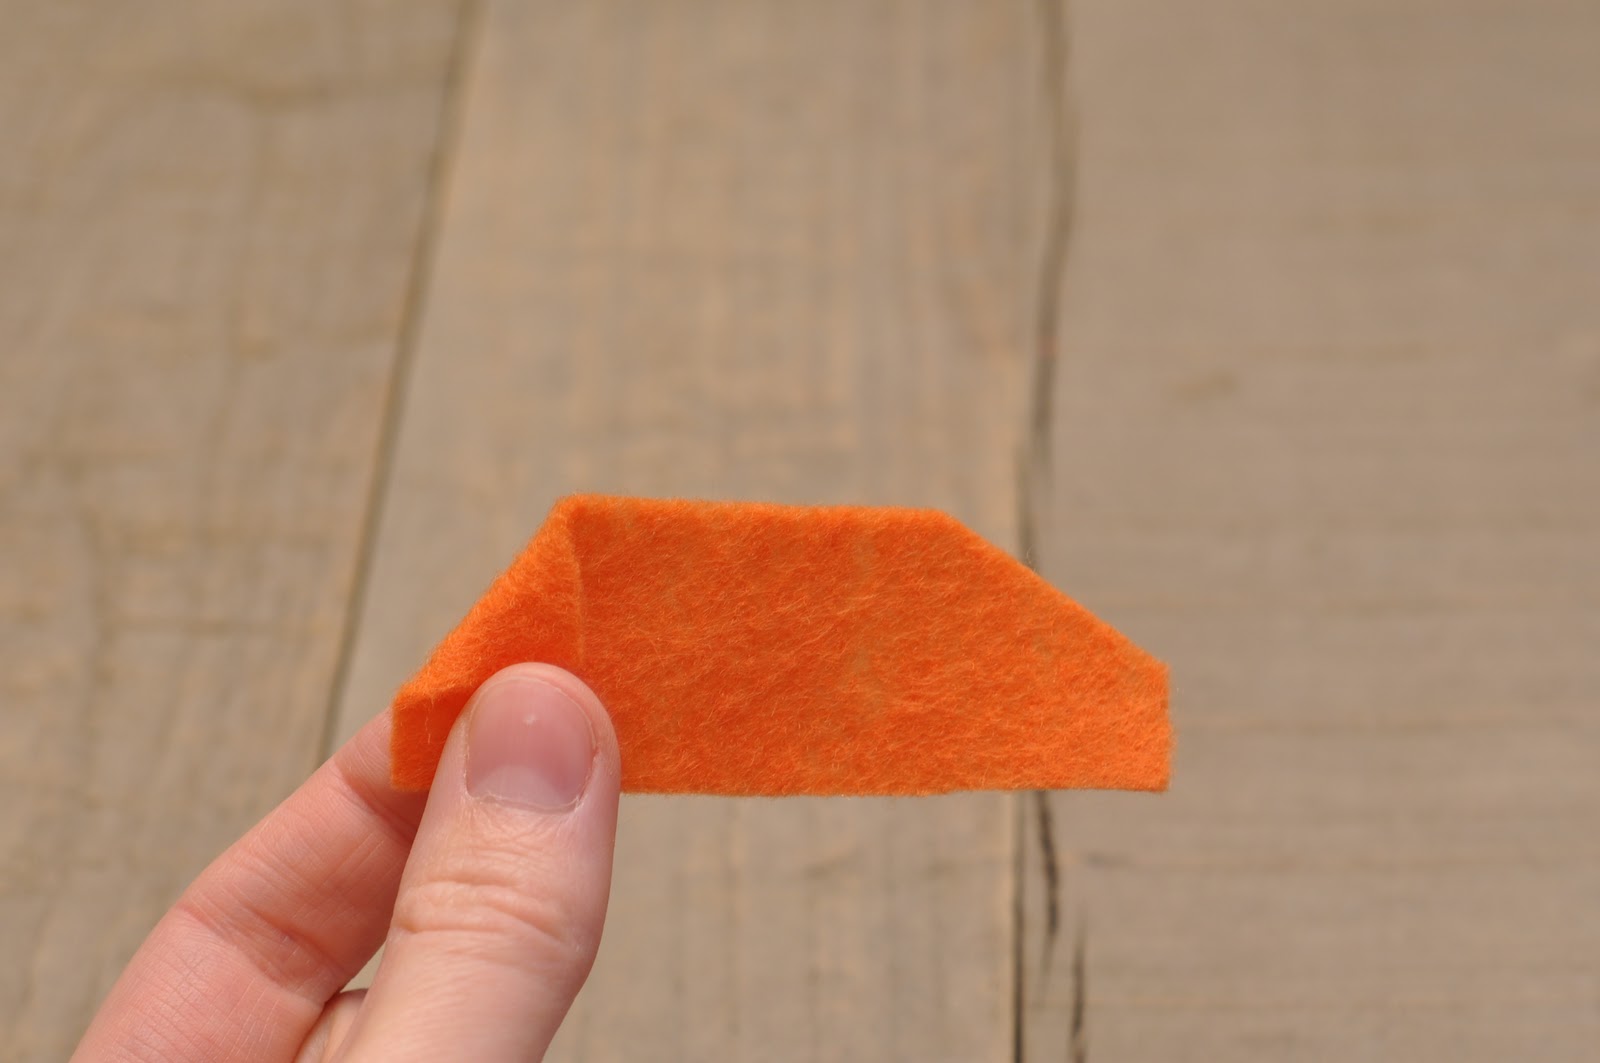
Take your rectangle and snip off one top corner.  Fold down the other top corner 
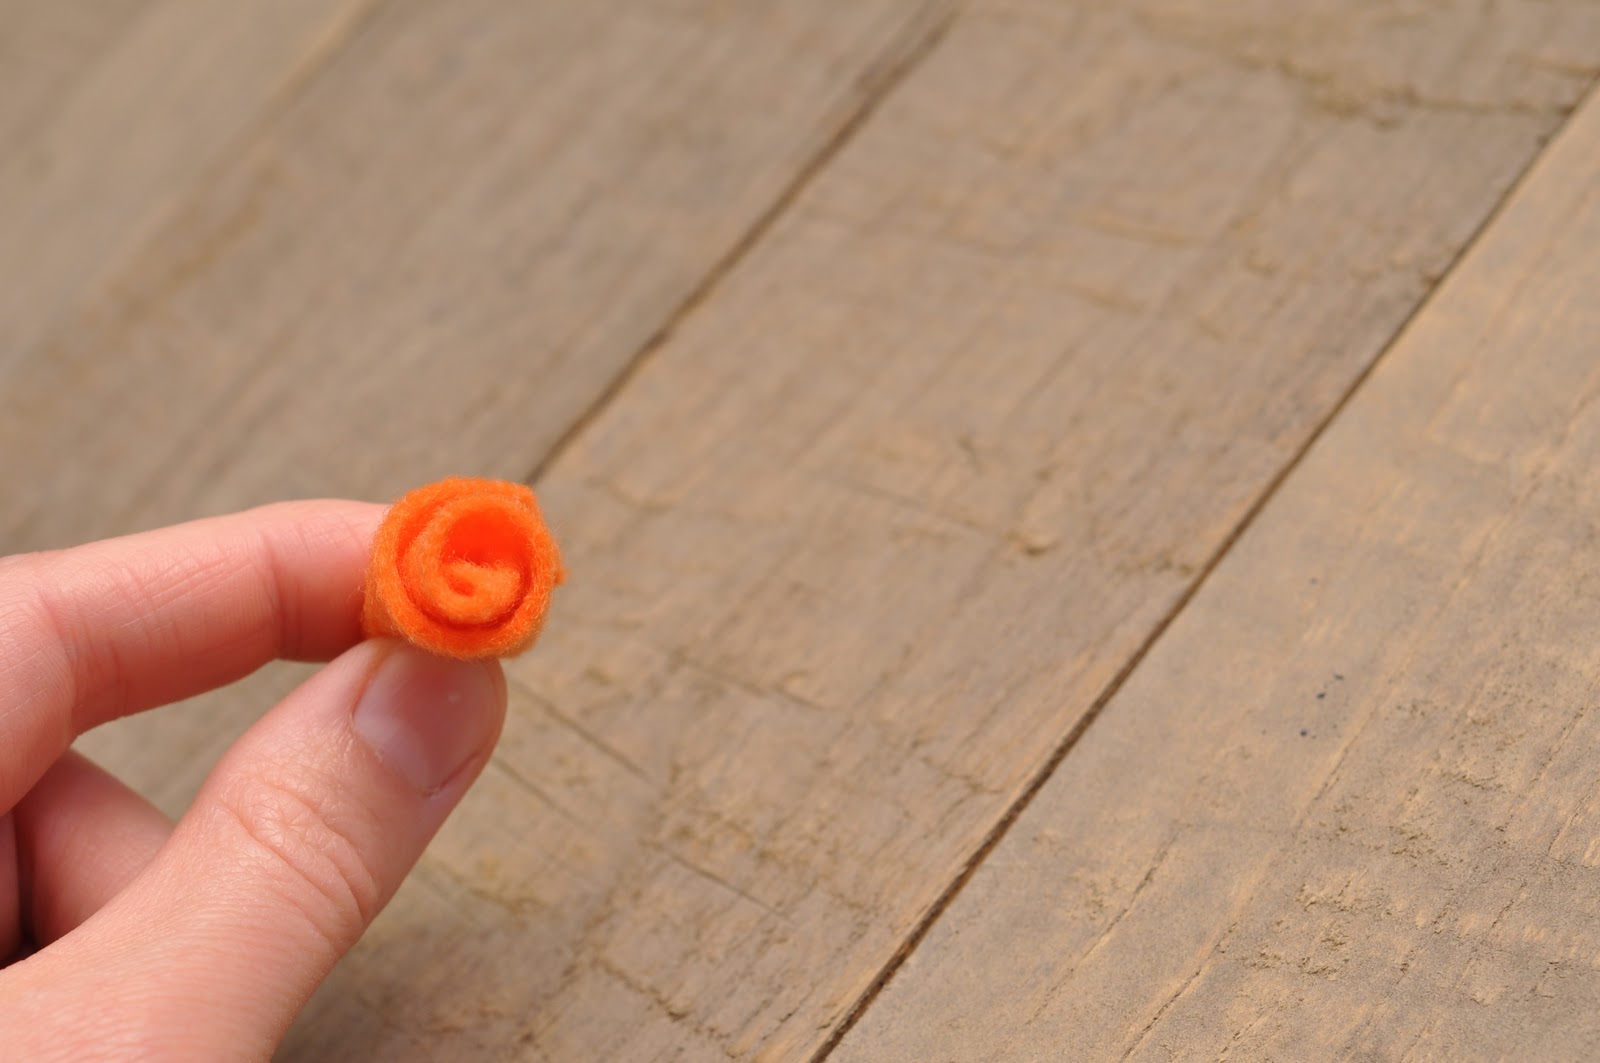
  Roll it up-- rolling the folded side first and the cut corner will be on the outside.
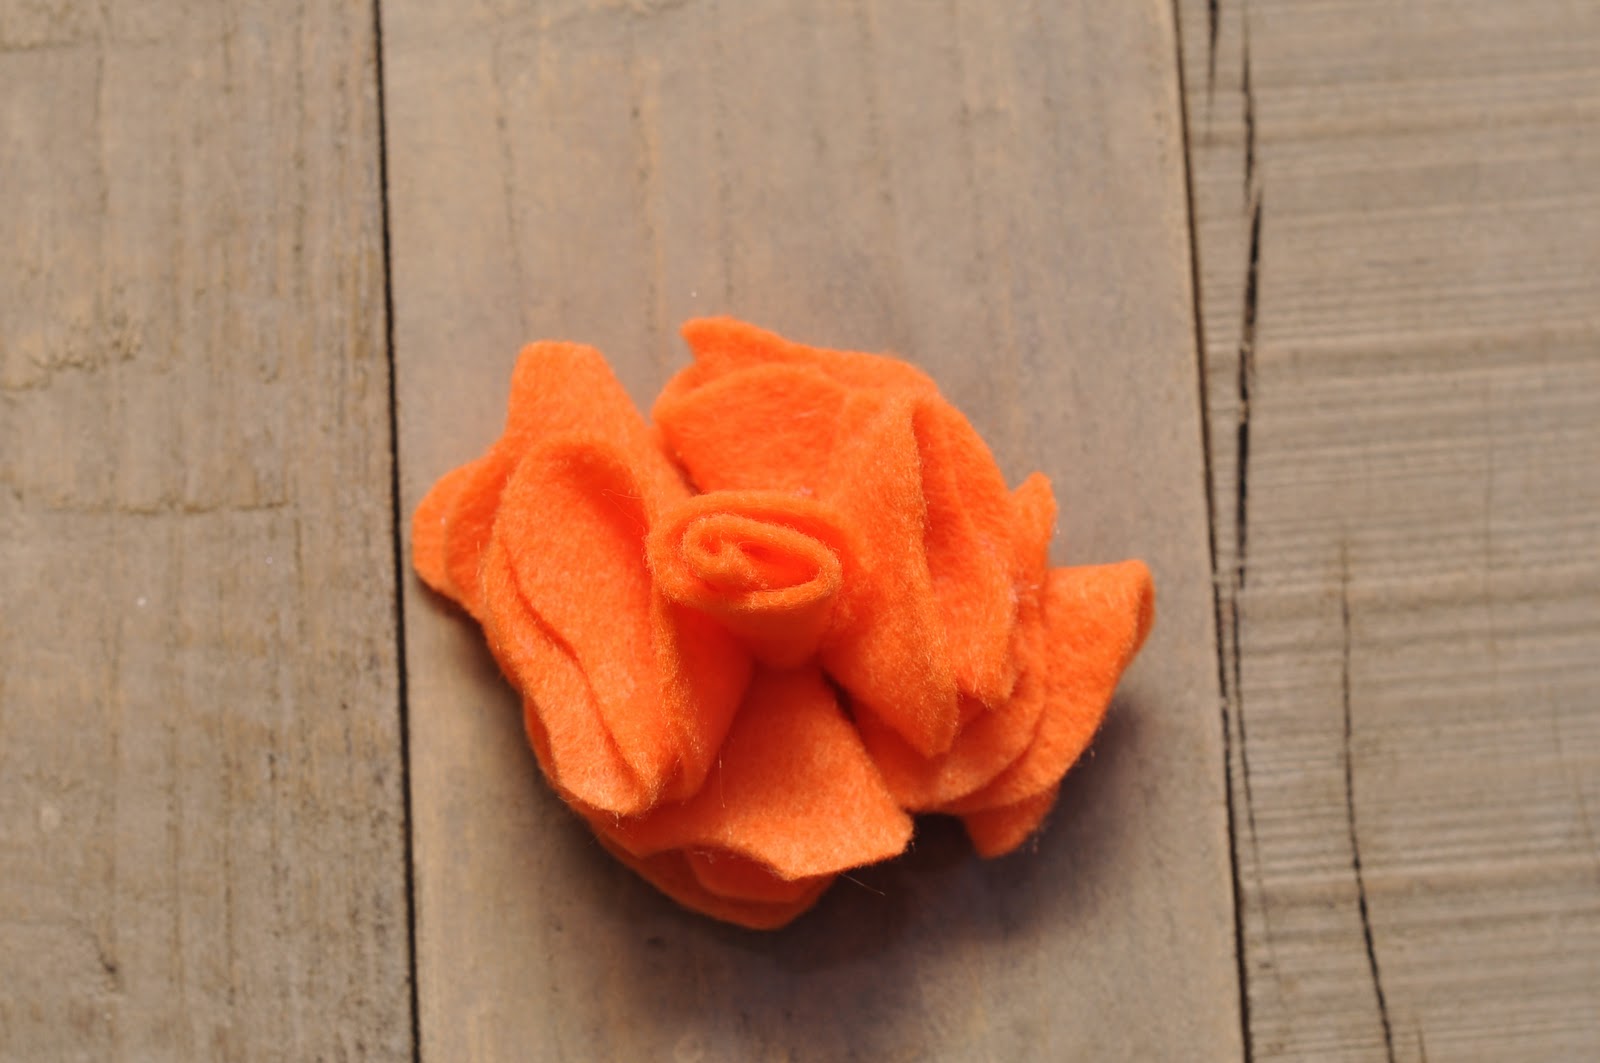
 Glue the base of the roll up to the center of the flower.
 Glue the last 2 petals down in the space remaining.
If you feel your flower needs a little perking up in places, you can use tiny scraps of your felt to add some extra oomph!
Hope you enjoy making your felt roses!  Click here for more felt flower tutorials.  

Wednesday, December 28, 2011

Turn An Old Sweater Back Into Yarn Tutorial

Hi Friends!  Hope y'all are enjoying the holidays and spending some quality time with your loved ones!  

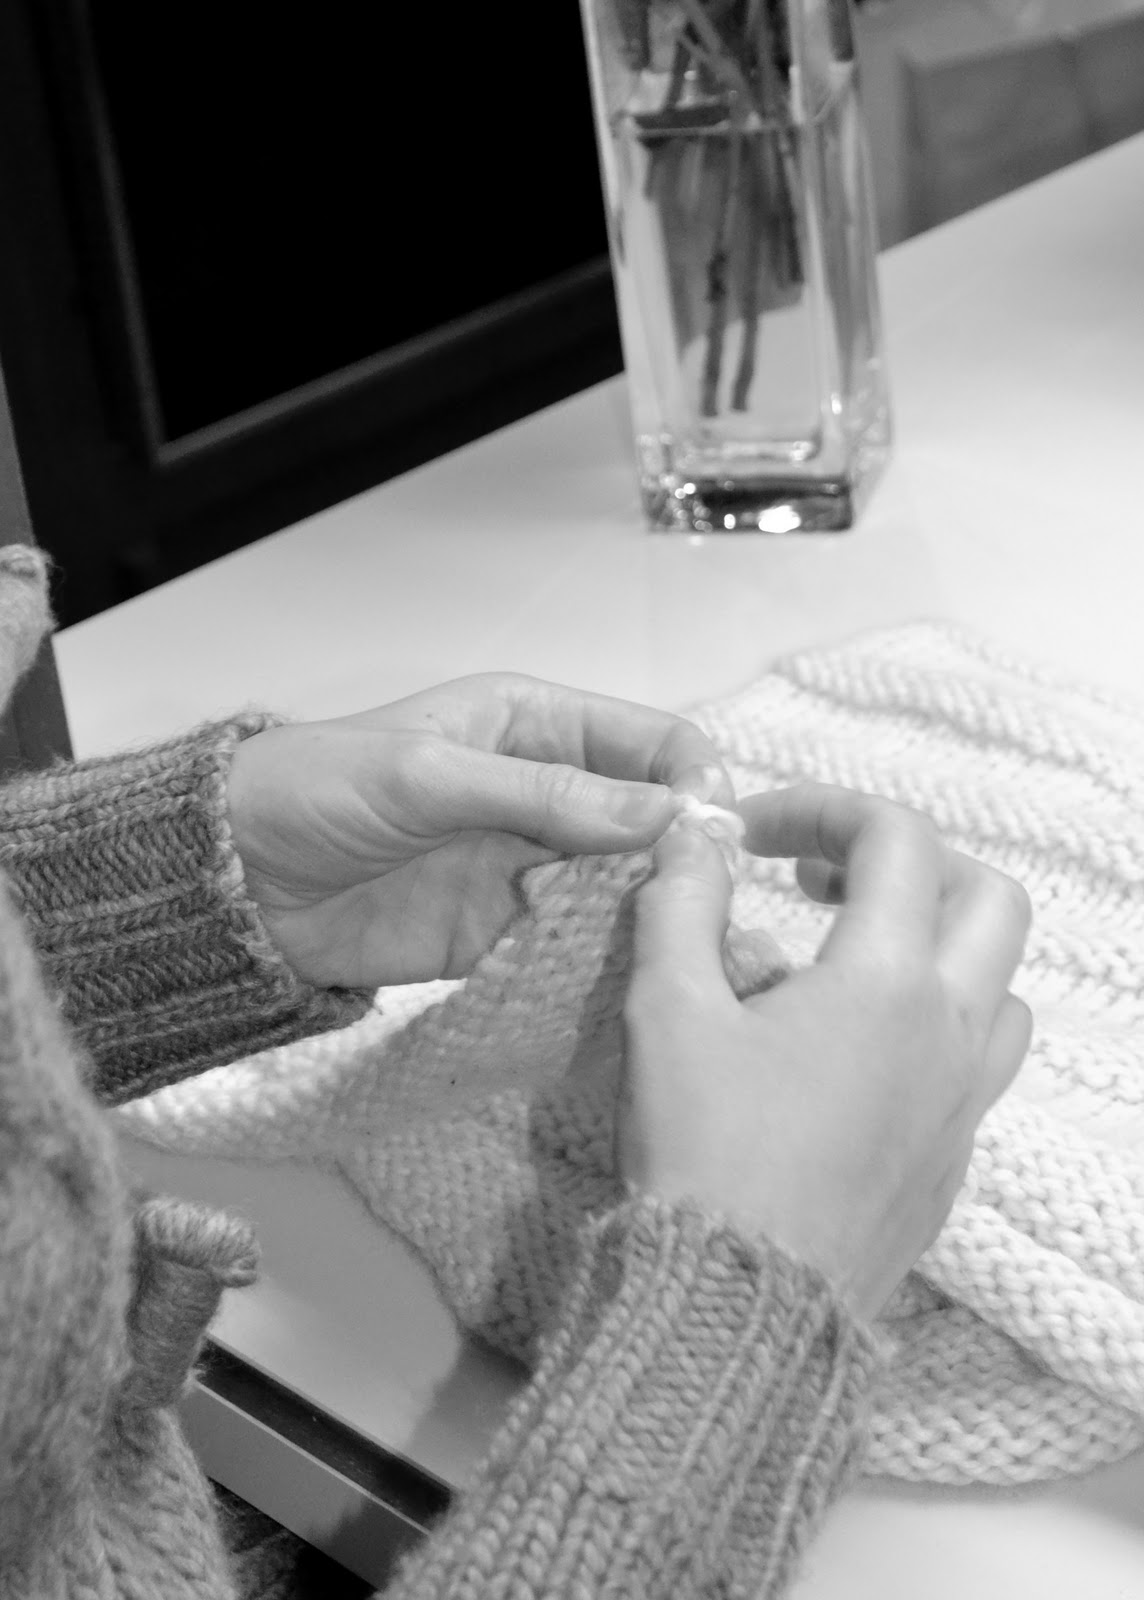
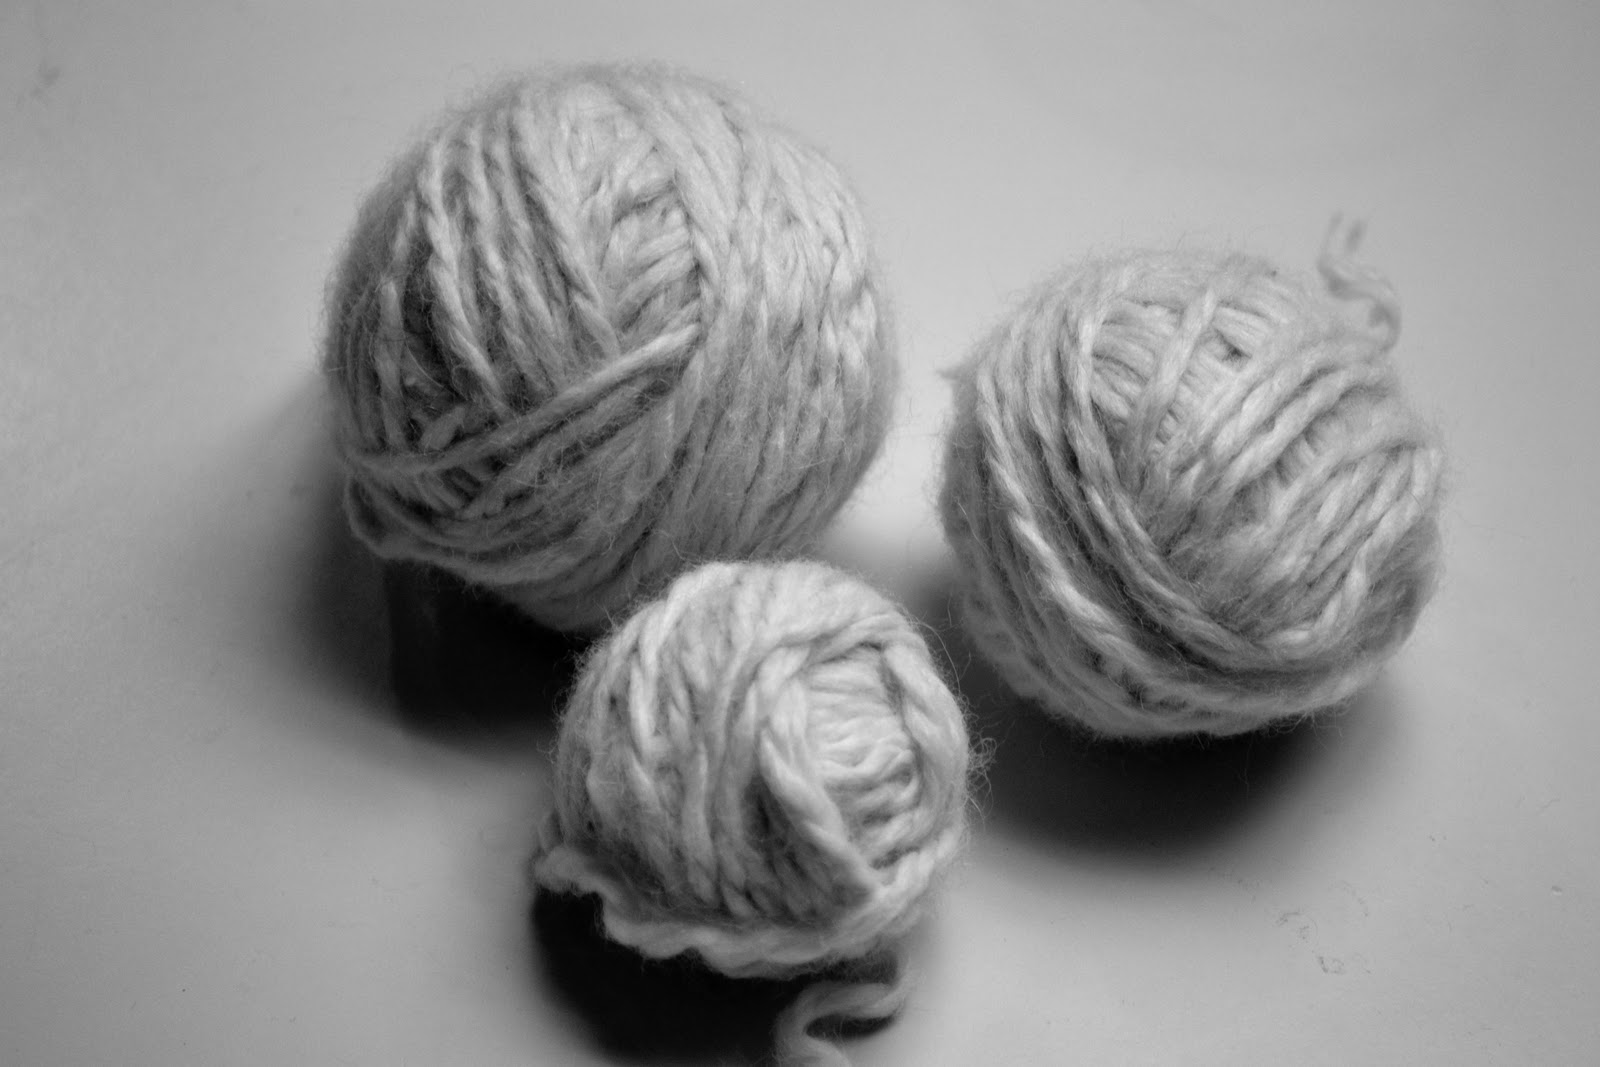
My friend Jessica once told me that you can turn a sweater back into yarn!  I gave it a try and it's true!  You can turn almost anything back into yarn to make something new.  This is fantastic news for thirfters because you can salvage some really great wool yarn from inexpensive, ugly sweaters!  

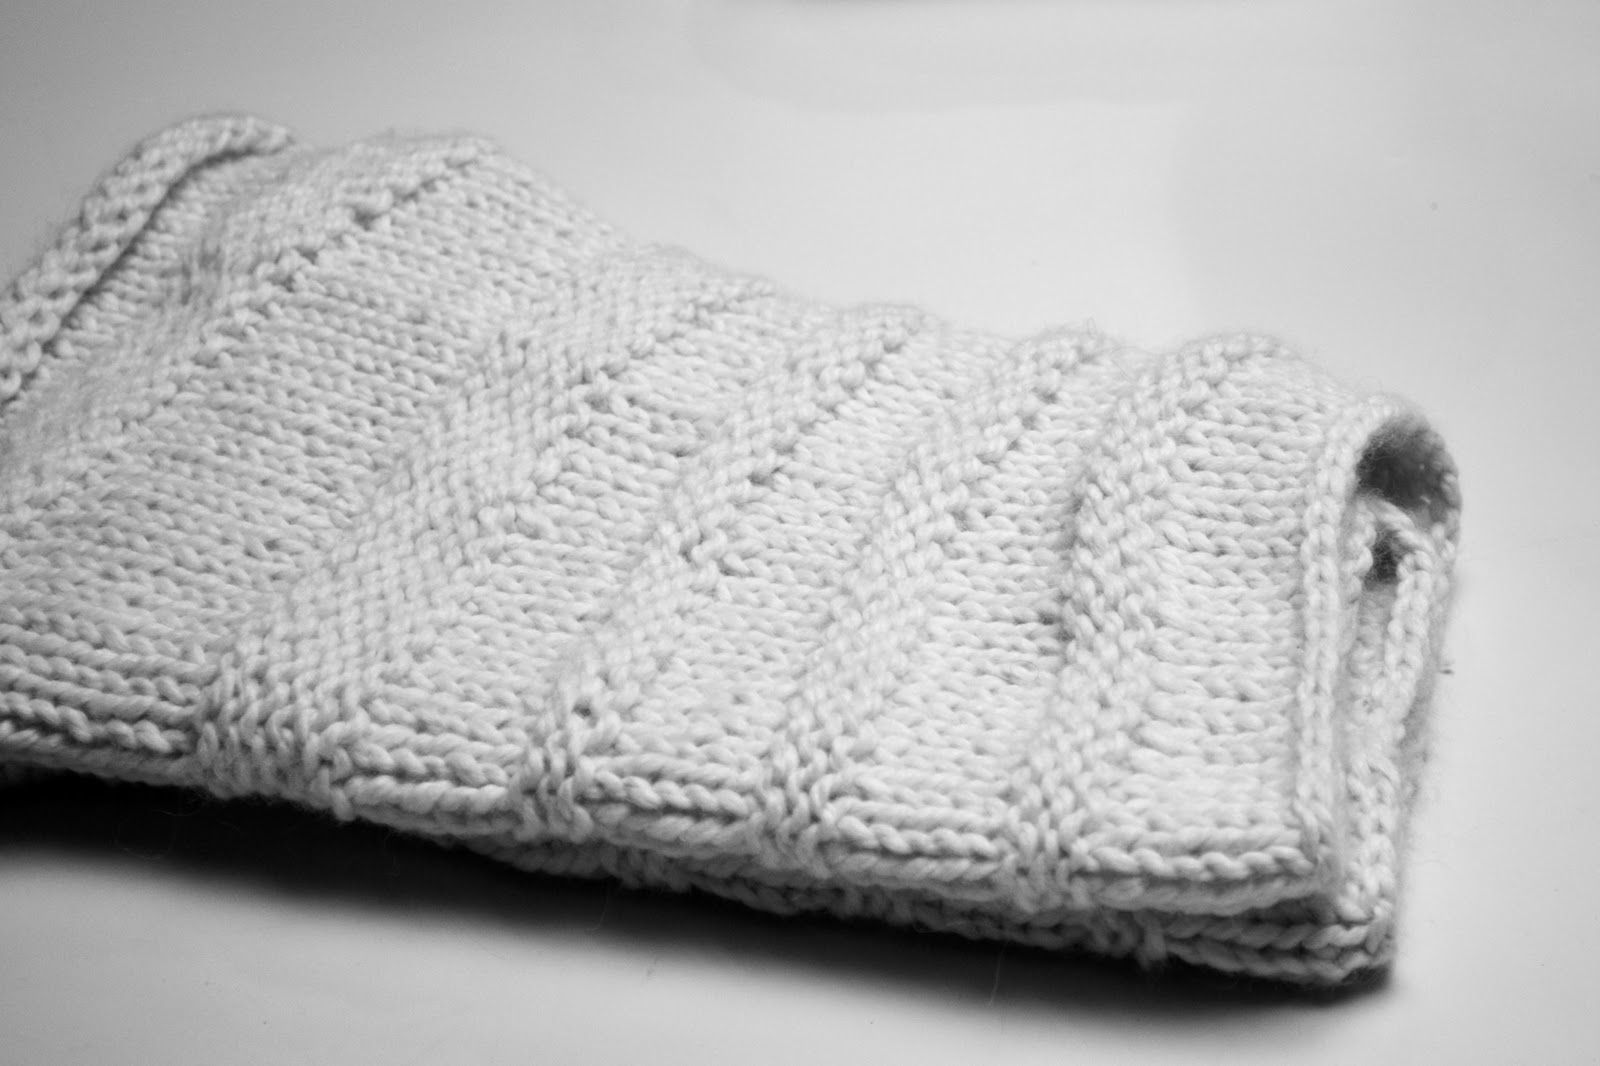
I made this shawl two years ago with really lovely baby alpaca yarn.  I wore the shawl once to cut down a Christmas tree.  It's just not right to waste such amazing yarn on something that receives so little love.  

I'll show you how to deconstruct your sweater back into yarn.  
Gather your supplies-- an old sweater or previously knit item and a pair of scissors.    
Snip the edge where the sweater was cast on or binded off.  You will want to snip stitches along the edge of the garment.  You don't need to snip every stitch-- maybe one stitch ever half inch or inch along the edge.     
Very carefully, stretch the area where you snipped and the yarn will begin to unravel.  Short pieces of yarn should come loose and you will discard these pieces.  Once you have broken up the entire edge, you will be able to tell where to begin unraveling.  
Pull the yarn and continue unraveling your sweater.  Your yarn might get tangled while you unravel.  It's fine-- just snip your way out of the mess and tie the ends together to make a continuous pice of yarn.  You can roll your yarn into a ball as you unravel or wait until you are finished.  
Have fun "making" your yarn!  
 
Fashion Trend © 2011 | All Rights Reserved | About | Privacy Policy | Contact | Sitemap